Building Your First Home Tool Kit Without the Guesswork
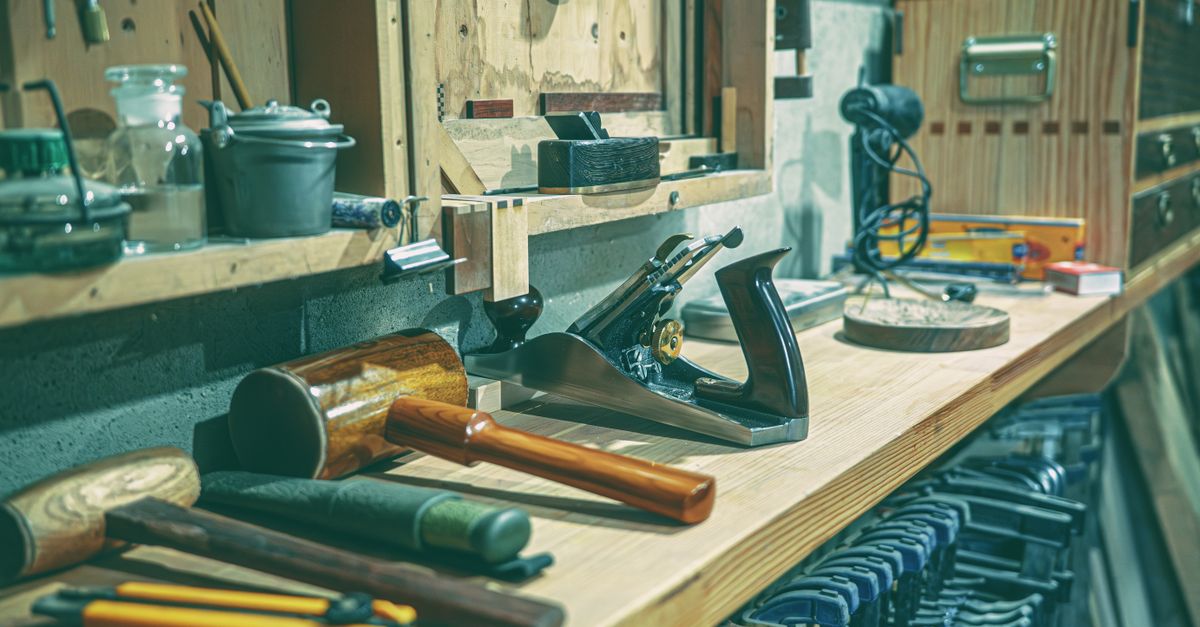
If you’ve just moved into your own place — or finally decided to stop borrowing your neighbor’s screwdriver — setting up a home tool kit is one of the most practical things you can do. Done right, it saves money, makes small repairs feel less intimidating, and stops that dripping faucet or wobbly shelf from becoming a weekend crisis.
This guide walks you through exactly what to buy, why each tool earns its place, and how to build up your kit in stages rather than spending a fortune all at once.
Start With the Non-Negotiables
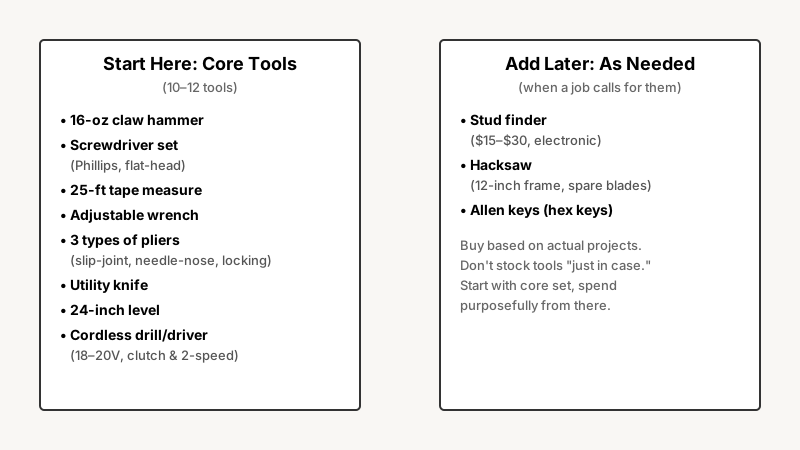
Before you buy anything, accept one truth: you don’t need 200 tools. You need maybe 15–20, chosen carefully, that cover 90% of what comes up in a typical home.
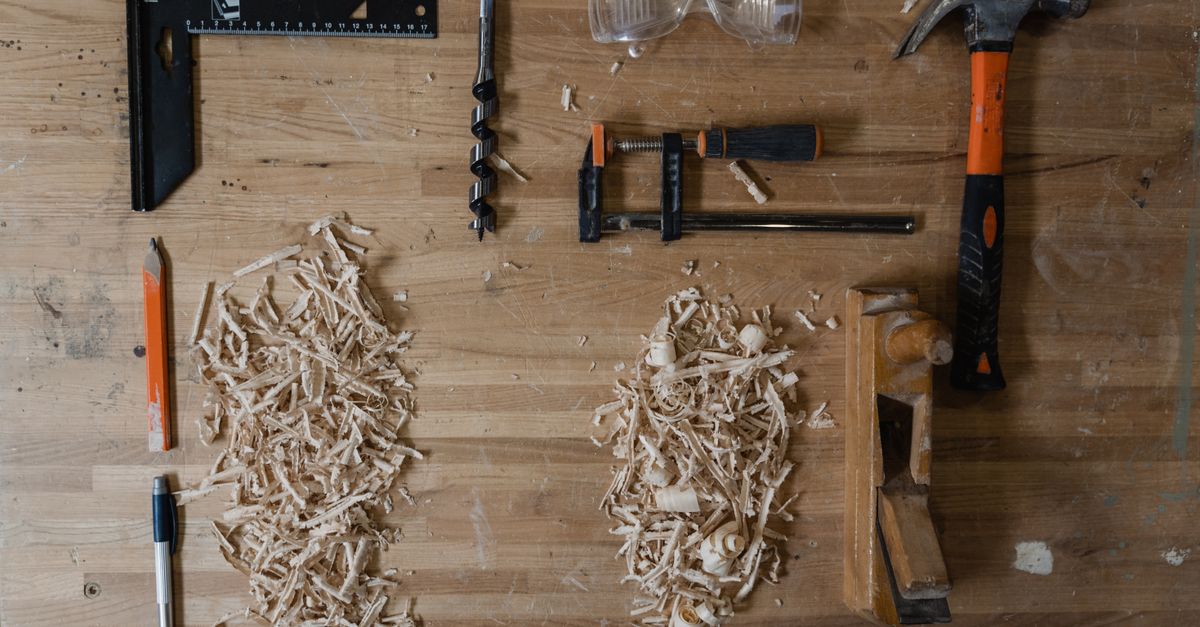
Here’s what belongs in every beginner’s kit, regardless of the size of your home or your experience level.
Hammers
A 16-oz claw hammer is the standard starting point. The flat face drives nails; the forked claw pulls them. Choose one with a smooth (not milled) face — milled faces are for framing work and leave marks on trim and drywall. A fiberglass or steel handle is more durable than wood and absorbs vibration reasonably well. Expect to pay $20–$40 for a solid, no-name-brand option; you don’t need a premium brand to start.
Screwdrivers
Get a set rather than individual pieces. You need:
- Phillips head (sizes #1, #2, #3 — #2 covers maybe 80% of screws in a home)
- Flat-head (slotted) in two sizes
Alternatively, a six-in-one or eight-in-one interchangeable screwdriver handles most situations in a single tool and saves drawer space. Make sure the tips fit snugly in screw heads — a sloppy fit strips screws fast.
A Tape Measure
A 25-foot, 1-inch-wide blade is the most useful size for home work. The wider the blade, the farther it extends without flopping — useful when you’re measuring alone. Look for a blade with a magnetic tip if you work near metal frequently. Stanley, Komelon, and similar mid-range brands are all adequate.
Adjustable Wrench
One 10-inch adjustable wrench handles most plumbing and furniture-assembly tasks. A pair (a 6-inch and a 10-inch) is better for tasks where you need to hold a nut still with one wrench while turning a bolt with the other.
Pliers
Three types cover most situations:
- Slip-joint pliers (the classic combination pliers) for general gripping
- Needle-nose pliers for reaching into tight spots and bending wire
- Locking pliers (Vise-Grips) for when you need to clamp something and free your hand
You can buy these as a set or add them one at a time as needs arise.
A Utility Knife
For cutting drywall, opening boxes, scoring lines, trimming carpet, and dozens of other tasks. Choose a retractable model with a quick-change blade system — dull blades are dangerous because they require more pressure. Keep a pack of spare blades.
A Level
A 24-inch torpedo level (or a standard 18-inch level) lets you hang pictures, install shelves, and check that furniture is properly aligned. A small bubble level costs about $10 and earns that back the first time it stops you from drilling holes in the wrong place.
Drill/Driver
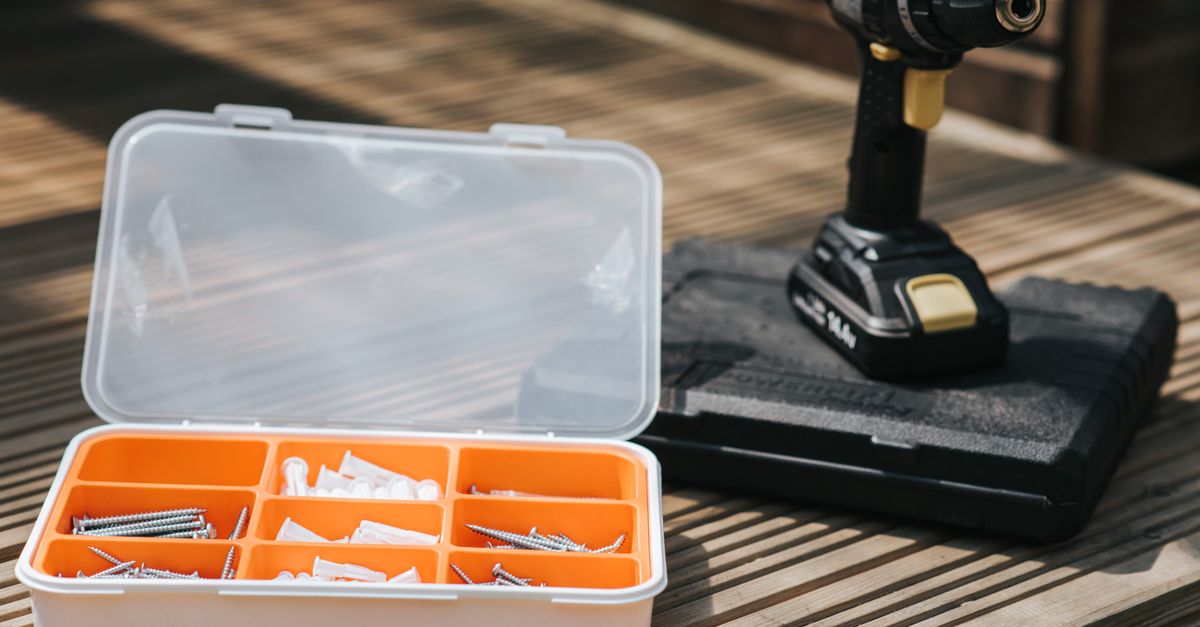
This is the one power tool worth buying early. A cordless 18V or 20V drill/driver from a reputable brand (Ryobi, Makita, DeWalt, Milwaukee, Black+Decker) handles drilling holes and driving screws. If budget is tight, Ryobi and Black+Decker offer solid starter kits that include a battery, charger, and often a carry case. Features to prioritize:
- Clutch settings — prevents overtightening and stripped screws
- Two-speed gearbox — low speed for screws, high speed for drilling
- Keyless chuck — makes bit changes quick
Avoid cheap no-brand drills; they lose torque fast and the battery systems are often proprietary dead-ends.
The Second Layer: Add These When a Job Demands Them
Once you have the core 10–12 tools above, buy the next tier only when an actual job calls for them. This keeps spending purposeful and avoids tools that sit in a box forever.
Once your kit can handle basic repairs, How to Repair Damaged Wooden Furniture at Home shows how those same tools come in handy for fixing dents, scratches, and loose joints around the house.
A Stud Finder
When you’re mounting anything heavy — a TV, a bookshelf, a bike hook — into drywall, you need to hit the studs behind it. Electronic stud finders are cheap ($15–$30) and accurate enough for beginners. The old knocking-and-listening method works in a pinch but is less reliable.
A Hacksaw
For cutting metal, plastic pipe, or bolts. A 12-inch frame hacksaw is fine. Keep a spare blade; they dull faster than you expect.
A Set of Allen Keys (Hex Keys)
Flat-pack furniture, bike maintenance, cabinet hardware — Allen keys come up constantly. A folding set or L-shaped set in metric and imperial covers everything.
Safety Glasses and Work Gloves
Not glamorous, but the one category worth spending on early. Flying chips, splinters, and pinched skin are all very common beginner injuries. Keep a pair of clear ANSI-rated safety glasses and a pair of cut-resistant gloves in the kit permanently.
A Flashlight or Headlamp
Working under a sink, in an attic, or inside a cabinet is nearly impossible without good light. A rechargeable LED headlamp leaves your hands free.
Measuring and Marking Tools
A carpenter’s pencil or chalk line for marking cut lines, a combination square for checking right angles — both are inexpensive and prevent the classic “measure once, cut wrong” disaster.
Buying Smart: New vs. Used, Sets vs. Singles
Hand tools — wrenches, screwdrivers, hammers, pliers — buy used whenever possible. Estate sales, Craigslist, Facebook Marketplace, and thrift stores regularly yield brand-name tools at a fraction of retail. A 40-year-old Craftsman or Stanley hand tool is often better quality steel than a new budget import. Clean it up, maybe hit it with a wire brush, and it’ll outlast you.
Power tools are more of a judgment call. Cordless tools from the last several years use lithium-ion batteries that degrade over time; buying used means you may not know how many charge cycles the battery has left. If you buy used power tools, check that the battery holds a charge under load, not just on the charger.
Sets vs. individual tools: Sets save money for screwdrivers, drill bits, and Allen keys. For hammers, wrenches, and pliers, individual pieces often offer better quality at the same price point as a comparable set.
Organizing Your Kit From Day One
A disorganized tool kit is the main reason people buy duplicate tools — you can’t find what you have, so you buy it again. A few simple habits prevent this:
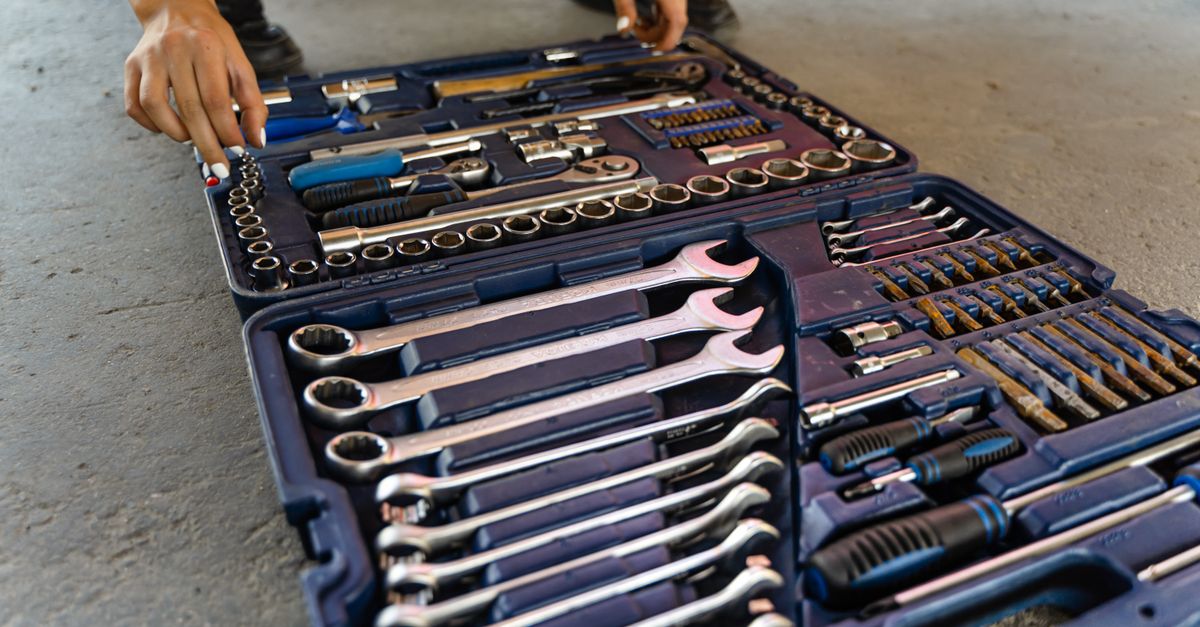
- One dedicated container. A simple canvas tool bag, a plastic toolbox, or a wall-mounted pegboard — pick one home for your tools and always return things to it.
- Label your bits and drill accessories. Loose drill bits scattered in a bag are miserable. A bit index (a small folding case) keeps them sorted and identifiable.
- Keep consumables near the tools. Sandpaper, spare blades, picture hooks, assorted nails and screws — a small divided parts organizer (around $10) on a shelf next to your toolbox is worth more than you’d expect.
- Wipe tools before storing. A quick wipe with a dry rag prevents surface rust on metal tools, especially if your storage area has any humidity.
If your tools are just one piece of a larger clutter problem, How to Declutter Your Home Step by Step (That Actually Works) offers a broader system for getting the rest of your home in order.
Safety Habits Worth Building Early
Tools don’t cause injuries; tool habits do. A few rules worth ingraining from the start:
- Cut away from your body, always — utility knives and chisels most often slip toward the hand holding the workpiece.
- Secure your workpiece before cutting or drilling; a free-spinning piece of wood or pipe is a hazard.
- Unplug or discharge before adjusting any power tool — this includes removing the battery from a cordless drill before swapping bits if you’ll be near the trigger.
- Know what’s in the wall. Before you drill, check for pipes and wires with a combination stud/AC detector. A drill through a live wire is a memorable and dangerous mistake.
- Respect ladders. Most home DIY injuries happen from falls. Use the right size ladder, keep three points of contact, and don’t overreach.
Frequently Asked Questions
How much does a beginner home tool kit cost to put together?
A functional core kit — hammer, screwdrivers, tape measure, adjustable wrench, pliers, utility knife, level, and a basic cordless drill — typically runs $100–$200 if you buy mid-range brands on sale. You can cut that in half by sourcing hand tools used. Spending more doesn’t necessarily mean a better outcome at the beginner stage.
Do I need a toolbox, or will a bag do?
Either works, and the “right” choice depends on how and where you store tools. A soft canvas bag is lighter and easier to carry between rooms. A hard toolbox offers better protection and stacks more easily. If you’ll mostly keep tools in one place, a toolbox (or pegboard on a wall) makes more sense; if you drag them around the house, a bag wins.
Is one cordless drill brand better than another for beginners?
At the beginner level, the differences between major brands (Ryobi, Black+Decker, DeWalt, Makita, Milwaukee) are smaller than their marketing suggests. More important: stick to one battery platform so your batteries and chargers are interchangeable across tools. Ryobi’s 18V ONE+ ecosystem is particularly large and beginner-friendly in terms of price.
What’s the single most-used tool in a home kit?
Most experienced DIYers point to a cordless drill/driver. Once you have one, you reach for it constantly — for screws, drilling holes, mixing paint, and even driving lag bolts. A close second is a quality tape measure.
Can I skip any of the core tools at first?
Yes — buy what an actual upcoming job requires. If you’re not doing any plumbing or furniture assembly in the next few months, skip the wrenches. If no picture-hanging is planned, the level can wait. The list above is a complete eventual kit, not a day-one shopping list. Buy on demand and you’ll waste nothing.