Cooking Chicken Breast That Stays Moist and Tender
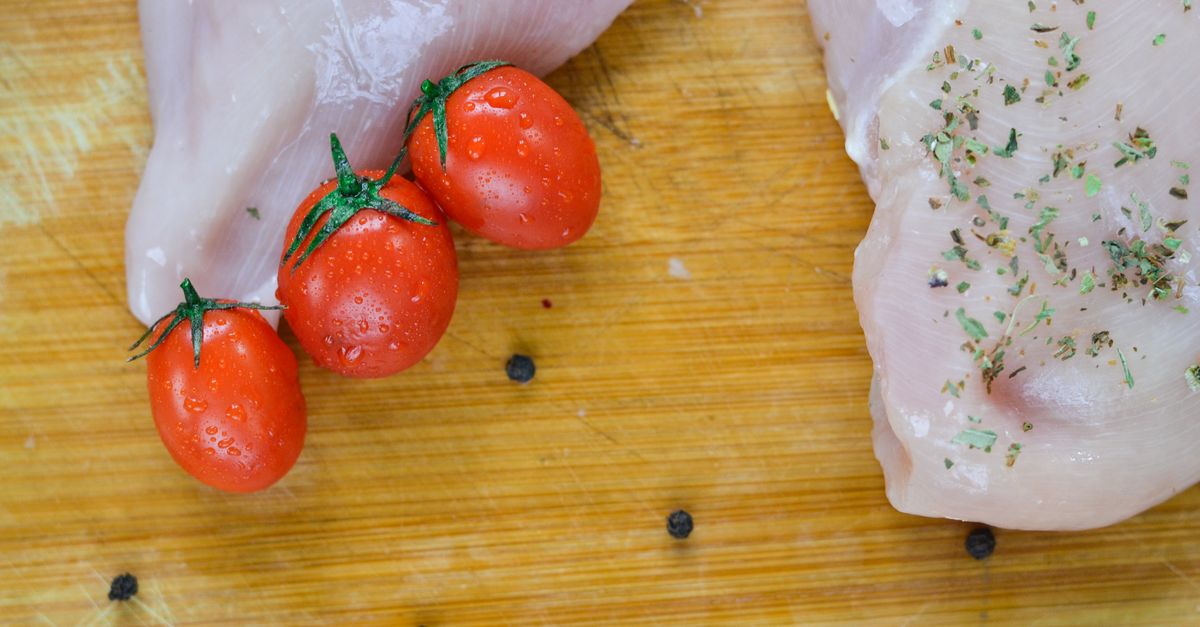
Dry chicken breast is one of the most common kitchen frustrations, and the fix is almost never about cooking longer. The protein fibers in breast meat seize quickly when overheated, squeezing out moisture like a wrung sponge. Once that happens, no sauce rescues it. The good approach is to control heat carefully and give the meat every structural advantage before it hits the pan.
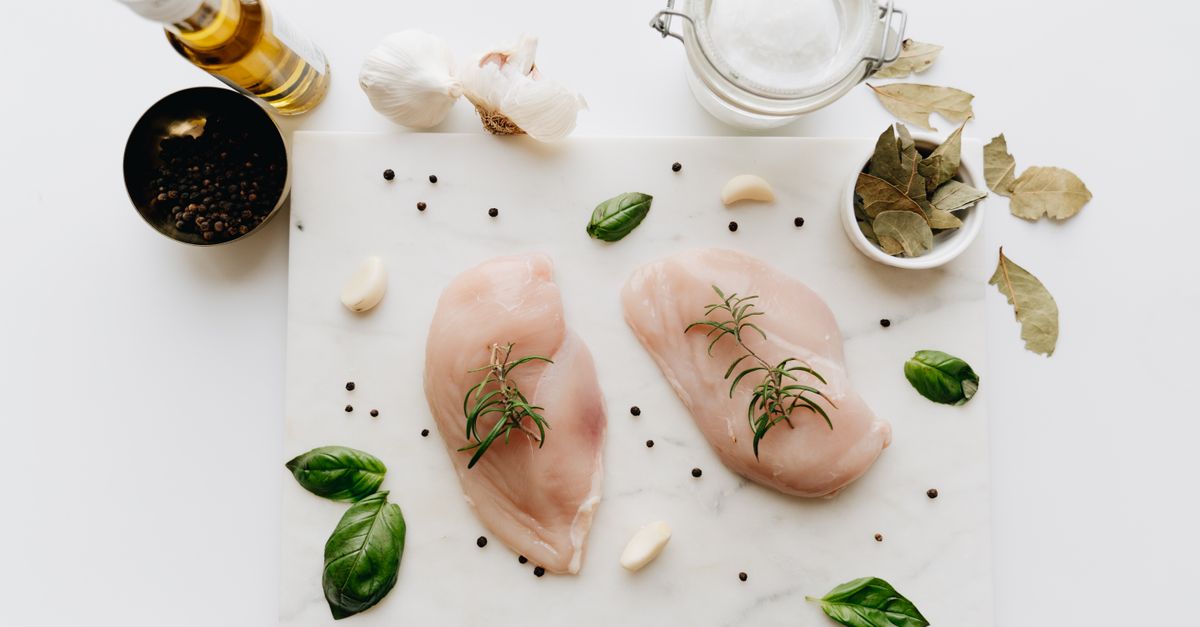
Why Chicken Breast Dries Out So Easily
Chicken breast is almost entirely lean muscle with very little connective tissue or fat to buffer heat. At roughly 150°F (65°C) the proteins begin to contract and expel liquid noticeably; push past 165°F (74°C) and the texture tightens dramatically. The window between “just safe” and “dry and stringy” is smaller than most recipes acknowledge.
Thick breasts make this worse because the outside must cook much longer before the center reaches a safe temperature. That outside layer overcooks while you wait for the middle. Pounding, butterflying, or slicing breasts into even thickness before cooking is not just a prep trick — it is one of the most effective interventions available.
Brining Changes the Outcome
Brining pulls water and salt into the muscle fibers through osmosis and then alters the protein structure so they hold onto more moisture during cooking. Even a short wet brine in salted water makes a measurable difference, and the time investment is low.
For a wet brine, dissolve about 1 tablespoon of table salt per cup of cold water, submerge the chicken, and refrigerate. Thirty minutes works for thin pieces; 1 to 2 hours suits thick breasts. Beyond a few hours, the texture can soften past the point you want, so longer is not always better.
A dry brine is less mess. Sprinkle kosher salt generously on all sides and let the chicken rest uncovered on a rack in the refrigerator for 45 minutes to a couple of hours. The salt draws out surface moisture, then the liquid reabsorbs into the meat carrying the salt with it. You get seasoning all the way through and improved moisture retention with no bowl of water to deal with.
Skip brining entirely if your chicken is already labeled “enhanced” or “pre-basted” — those labels usually mean the processor has already injected a saltwater solution, and adding more salt will make the result unpleasantly salty.
If you’d rather skip brining altogether, Simple Marinades for Chicken: 7 Recipes That Actually Work offers another reliable way to add flavor and moisture before cooking.
Methods That Keep the Meat Juicy
Different cooking methods have different strengths, and the right choice depends on your time and equipment.
Searing and Finishing in the Oven
Start the breast in an oven-safe skillet over medium-high heat to build color, then move the pan into a 375°F (190°C) oven to finish cooking gently. The oven’s indirect heat surrounds the meat evenly instead of driving intense heat from one direction. Pull the chicken when an instant-read thermometer reads 160°F (71°C) and let it rest on a cutting board, tented loosely. Carryover heat will bring it to the safe 165°F (74°C) target during the 5-minute rest. Cutting immediately wastes all the moisture that just redistributed toward the surface.
Poaching
Poaching is the most forgiving method for beginners because the water never exceeds 212°F (100°C) and usually hovers around 160–180°F (70–82°C) when kept just below a simmer. Place the breasts in cold water or broth, bring the liquid up to a bare simmer, then reduce the heat to maintain that gentle tremble. A 6-ounce breast typically poaches through in 15 to 20 minutes, but use a thermometer rather than the clock. The result is mild-flavored, silky, and reliably moist.
Reverse Sear
Bake the chicken at a low temperature — around 250°F (120°C) — until it reaches 145°F (63°C) internally, then finish with 60 to 90 seconds per side in a very hot, lightly oiled skillet. The low oven dries the surface slightly while cooking the interior gently; the quick sear gives color and crust without time to overcook the meat underneath. The result combines a properly seasoned crust with a tender, juicy center.
Sous Vide
Sous vide is the most precise option available at home. Sealing the chicken in a bag and holding it at a fixed water temperature — commonly 140–145°F (60–63°C) for extended pasteurization — produces results that are impossible to achieve with dry heat: uniformly cooked from edge to center, with no gray band of overcooked protein at the sides. The tradeoff is time (typically 1 to 2 hours) and needing an immersion circulator. A quick sear after the bath adds a crust.
Pan Sauce as a Buffer
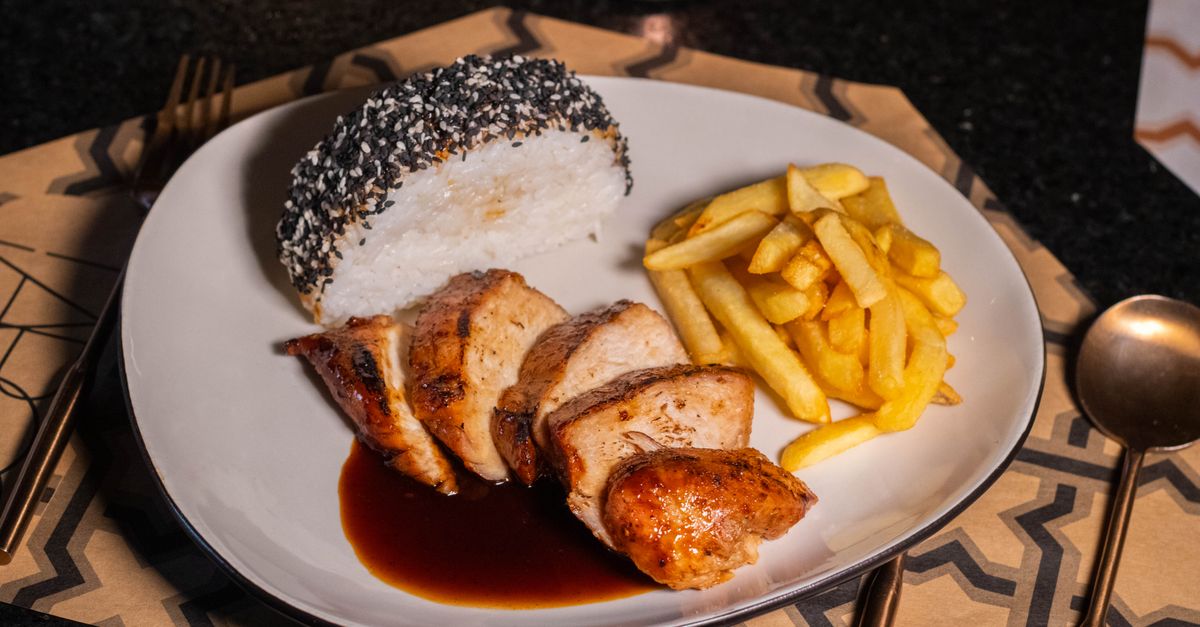
After searing, deglazing the pan with a splash of white wine, broth, or even water and then spooning that liquid over the chicken as it finishes creates a humid environment that slows moisture loss. It also captures any drippings and concentrates them into a sauce, so nothing is wasted.
If you want to put the rendered fat from your pan drippings to good use elsewhere, How to Render Chicken Fat: Step-by-Step Guide to Schmaltz explains how to turn it into a versatile cooking fat.
Temperature Is the Only Real Answer
Every method above is just a way of reaching and maintaining a target temperature. No marinade, no sauce, and no cooking gadget compensates for overcooking. An instant-read thermometer costs very little and removes the guesswork entirely.
The target is 165°F (74°C) measured at the thickest part of the breast, away from bone. If you are cooking a very thick breast and plan a 5-minute rest, pulling at 160°F (71°C) is reasonable because carryover will complete the job. This is where most home cooks lose moisture: they cut into the chicken to check doneness, release the juice, decide it is not done, and cook it further. Use a probe; do not cut.
| Method | Active effort | Moisture outcome | Best for |
|---|---|---|---|
| Sear then oven finish | Medium | Very good | Weeknight dinners |
| Poaching | Low | Excellent | Salads, shredding, meal prep |
| Reverse sear | Low (mostly passive) | Very good | Thick breasts |
| Sous vide | Low (needs equipment) | Outstanding | Precision, batch cooking |
| Straight pan fry | High | Risky | Thin, pounded pieces only |
Resting, Slicing, and Serving
Resting is not optional. During cooking, heat pushes moisture toward the cooler center of the meat. Rest the chicken on a warm surface for at least 5 minutes and those juices redistribute. Slice immediately and they run out onto the cutting board instead of staying in the meat.
Slice against the grain — across the short muscle fibers rather than parallel to them. The muscle fibers in a breast run lengthwise, so cutting across them shortens each fiber you put in your mouth, making the meat feel more tender even if the texture is identical. For breasts you are pulling or shredding, pulling along the grain works naturally; the fibers separate easily.
If the chicken will sit in a sauce, rice, or salad, the sauce itself acts as a moisture reservoir and the texture is more forgiving. Avoid holding cooked breast under a heat lamp or in a covered container for a long time; the trapped steam continues cooking the protein.
Frequently Asked Questions
Does covering the pan help keep chicken breast moist?
Covering creates steam, which can slow moisture loss from the surface and prevent the outside from drying before the center is done. For thinner pieces this often works well. For thick breasts, a covered pan at high heat can cause the surface to steam rather than sear, leaving you with pallid, rubbery skin instead of color. A better approach is to finish thick breasts in the oven after an initial open sear.
Can you fix chicken breast that has already dried out?
Once proteins have expelled their moisture, you cannot reverse it. You can make dry chicken more palatable by slicing it thin, tossing with a warm sauce or broth, or using it in dishes with enough moisture of their own — soups, enchiladas, grain bowls with dressing. It will not be as good as properly cooked breast, but it is far from inedible.
Does pounding chicken breast actually make a difference?
Yes, meaningfully so. An even thickness across the entire piece means every part of the breast reaches the target temperature at the same time. Without pounding, the thin tapered end overcooks by the time the thick center finishes. Aim for roughly even thickness throughout rather than paper-thin.
Is it safe to cook chicken to 160°F instead of 165°F?
The 165°F (74°C) target is based on an instantaneous kill, meaning pathogens are destroyed the moment the meat reaches that temperature. Holding chicken at a slightly lower temperature for a longer period achieves the same level of pathogen reduction — this is the principle behind sous vide and why pulling at 160°F with a planned rest is considered safe by food scientists. That said, always verify with a reliable thermometer and follow current food safety guidance.
Why does chicken breast from a restaurant taste juicier?
Restaurants almost always brine or inject (often both), pound to uniform thickness, cook in fats or sauces that insulate the surface, and time the cook to exact temperature. The equipment is consistent and calibrated. At home, matching most of these steps — brine, even thickness, thermometer — closes the gap considerably.