Pork Shoulder Low and Slow: Getting That Pull-Apart Texture Right
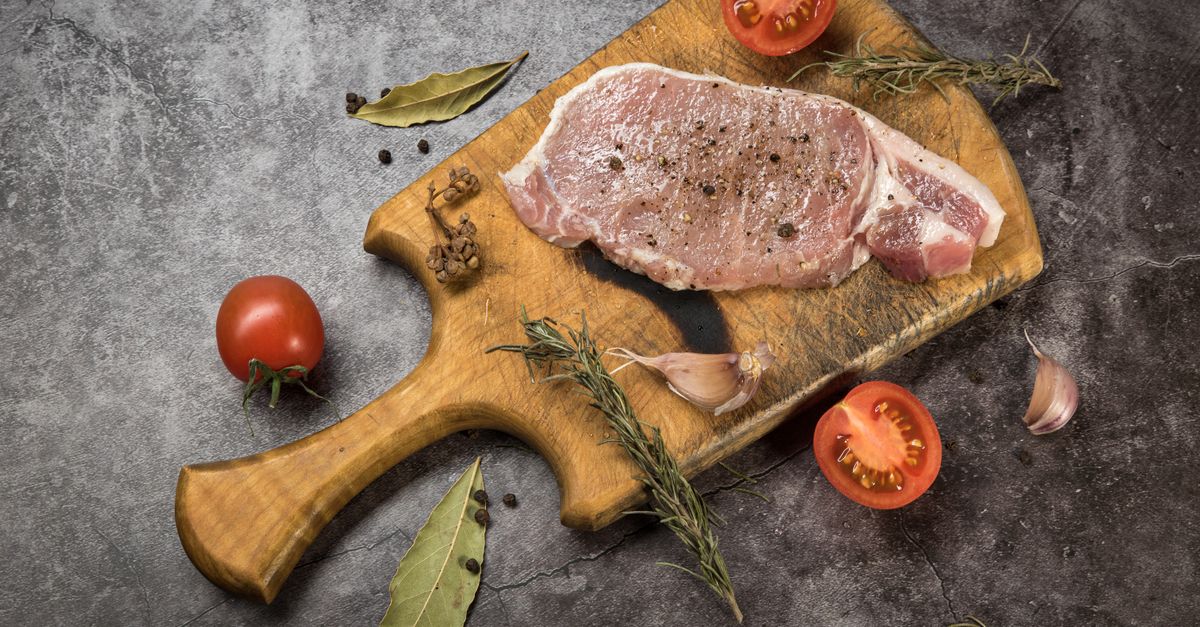
Pulled pork done properly is one of the most forgiving things you can cook, but it rewards patience in a way that almost nothing else does. The connective tissue and fat that make a pork shoulder tough at first are exactly what make it extraordinary after a long, gentle cook. Get the temperature and timing right, and the meat practically falls apart under a fork. Rush it, and you end up with something dense and chewy no matter how good your rub was.
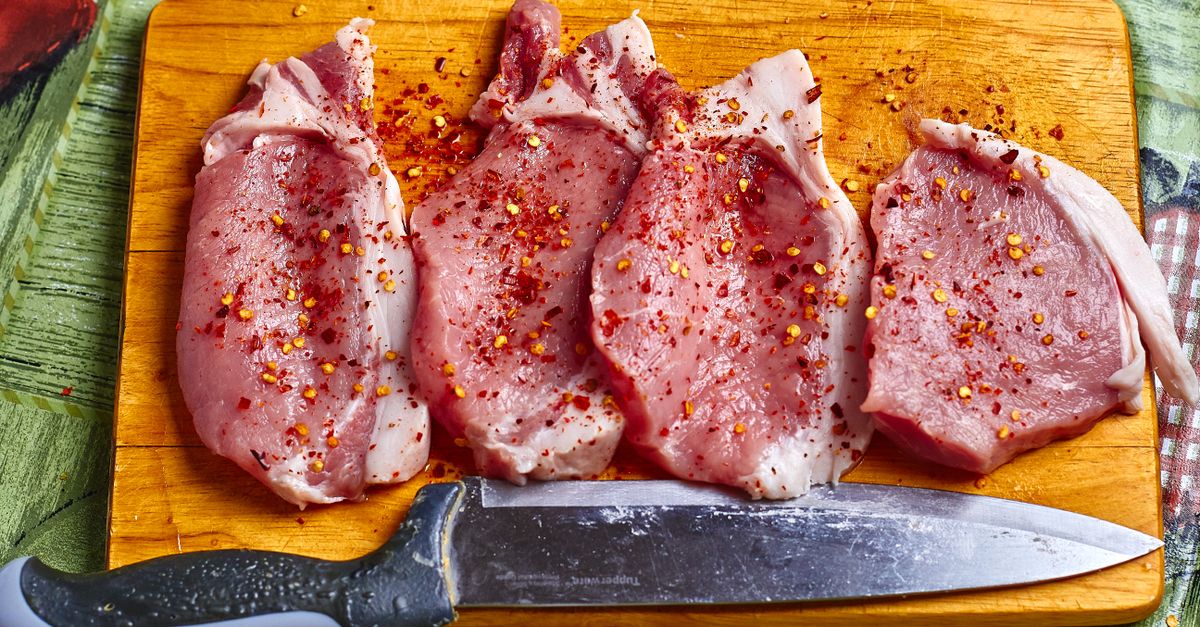
What Cut to Buy and Why Shoulder Works
Pork shoulder is sold under a few different names at the butcher or supermarket. The upper portion is often labeled Boston butt or pork butt (despite having nothing to do with the rear of the animal), while the lower portion is sometimes called picnic shoulder or picnic roast. Both work beautifully for low-and-slow cooking. The Boston butt is usually more uniform in shape, which helps it cook evenly, and it tends to have a little more intramuscular fat. The picnic has slightly more connective tissue and a thicker skin, which can render down into something almost crispy if you leave it on.
For a bone-in versus boneless decision: bone-in takes marginally longer to reach temperature, but many cooks feel the bone adds flavor and the meat around it is often the most succulent. Boneless is easier to slice or pull into even portions. Either works well here.
As for size, a typical bone-in Boston butt runs somewhere in the range of 4 to 8 pounds. Larger cuts take longer but are generally more forgiving because the mass retains heat well and the ratio of surface crust to interior is better. A very small shoulder (under 3 pounds) can dry out faster because it reaches temperature before the collagen has time to fully convert.
The Science Behind Low and Slow
Collagen, the structural protein that runs through the shoulder in thick bands, converts to gelatin somewhere between roughly 160°F (71°C) and 200°F (93°C) — but conversion is not just about temperature, it’s about time at temperature. A shoulder pulled off the heat the moment a thermometer reads 190°F may still feel a little tight. One that has held at 195–205°F for an extended period will feel fundamentally different: loose, juicy, and silky.
This is why “low and slow” is not just a style preference. At high heat, the exterior overcooks and dries before the interior collagen has converted. At lower heat (225–275°F / 107–135°C oven or smoker temperature), the whole roast climbs gradually and the collagen gets the sustained heat it needs.
Fat rendering works on the same principle. The substantial fat cap on a pork shoulder needs time to soften, baste the meat, and partially render out. Done slowly, it creates a self-basting environment inside the roast.
The Stall (and Why You Should Not Panic)
At some point in a long cook, usually when the internal temperature is somewhere between 155°F and 170°F (68–77°C), the temperature will stop climbing and may even drop a degree or two. This can last anywhere from one hour to several hours depending on the size of the roast and the humidity in your oven or smoker. It happens because moisture evaporating from the surface of the meat cools it at roughly the same rate it is gaining heat.
The stall is completely normal. Options: wait it out, wrap the shoulder tightly in heavy-duty foil or butcher’s paper (sometimes called the “Texas crutch”), or raise the cooking temperature slightly. Wrapping speeds things up by stopping evaporative cooling; it also softens the bark (the outer crust). Leaving it unwrapped preserves a drier, crunchier bark but requires more patience.
How to Prepare the Shoulder Before It Goes In
Trim: Leave a fat cap of roughly a quarter-inch. Too thick and it won’t render; too thin and you lose the basting effect. Trim away any large, hard external fat deposits that won’t render at low heat.
Dry rub: A simple mix of salt, black pepper, smoked paprika, garlic powder, and a little brown sugar is enough. The salt does the most important work — it draws a small amount of moisture to the surface, dissolves, and then gets reabsorbed, seasoning deeper into the meat. Apply the rub generously and, ideally, let the rubbed shoulder sit uncovered in the fridge for several hours or overnight. This helps the surface dry out slightly, which promotes better bark formation.
Mustard binder: Coating the shoulder in a thin layer of yellow mustard before the rub is a common practice. The mustard flavor mostly disappears during cooking; it functions mainly as something for the rub to stick to. It is not essential, but it is easy and effective.
Room temperature before cooking: Pulling the shoulder out of the fridge 30–60 minutes before cooking will take the chill off the exterior and give you a slightly more even cook. The effect is real but modest on a large roast; don’t stress if you skip it.
Since a good dry rub depends on fresh, potent seasonings, it’s worth reading How to Store Spices Right and Keep Their Flavor before you start measuring out spices.
Cooking Methods Compared
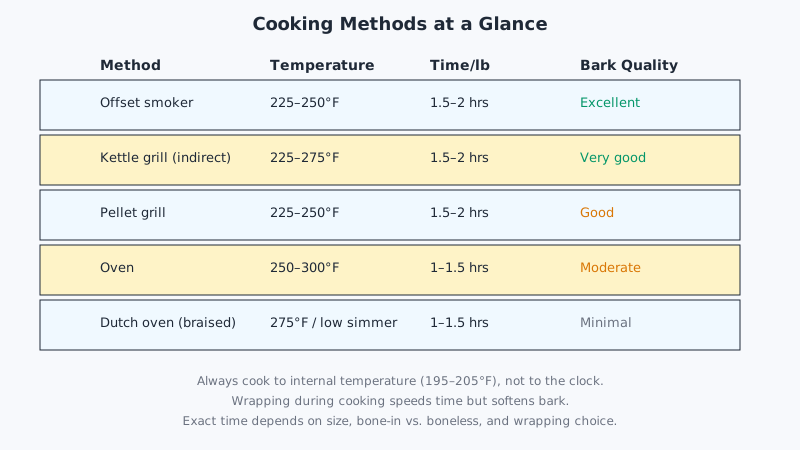
| Method | Temperature range | Approx. time per pound | Bark quality | Best for |
|---|---|---|---|---|
| Offset smoker | 225–250°F (107–121°C) | 1.5–2 hrs/lb | Excellent, dry crust | Authentic smoke flavor, outdoor cooking |
| Kettle grill (indirect) | 225–275°F (107–135°C) | 1.5–2 hrs/lb | Very good | Accessible smoke at home |
| Pellet grill | 225–250°F (107–121°C) | 1.5–2 hrs/lb | Good | Convenience with smoke flavor |
| Oven | 250–300°F (121–149°C) | 1–1.5 hrs/lb | Moderate, softer | Year-round indoor cooking |
| Dutch oven (stovetop/oven) | Low simmer / 275°F (135°C) | 1–1.5 hrs/lb | Minimal (braised finish) | Saucy pulled pork, one-pot cooking |
Time estimates above are approximate and depend heavily on the exact size, bone-in vs. boneless, and whether you wrap during cooking. Always cook to internal temperature, not to the clock.
If you’d rather let a slow cooker handle most of the work with less hands-on attention, check out 12 Slow Cooker Comfort Food Recipes Worth Making for more low-effort dinner ideas.
Smoking
Wood choice matters, but not as much as temperature control does. Fruit woods (apple, cherry) give a milder, slightly sweet smoke that pairs well with pork. Hickory gives a stronger, more assertive smoke that is traditional in many US barbecue regions. Oak is a clean middle ground. The first few hours are when the meat absorbs smoke most efficiently; after that, wrapping stops additional smoke penetration anyway.
Oven Method
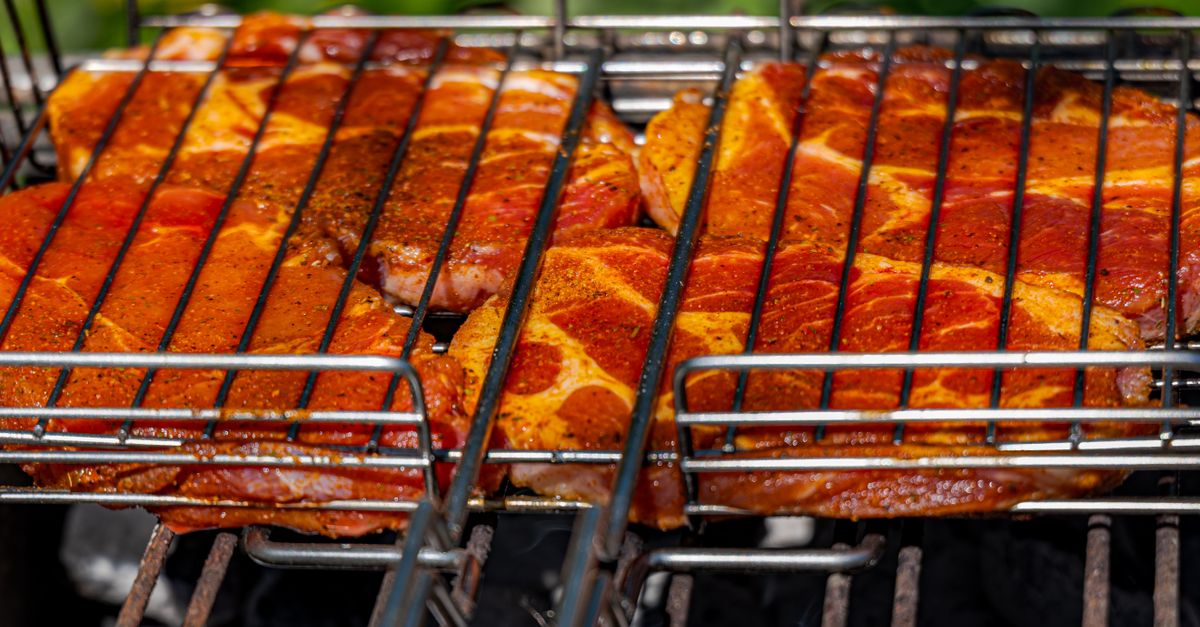
The oven cannot add smoke, but it can produce genuinely excellent, tender pork shoulder. Set the oven to 275°F (135°C). Place the rubbed shoulder on a wire rack set inside a roasting pan. The rack keeps the bottom of the roast out of any drippings so the bark can form on all sides. You can add a splash of apple cider or water to the pan to create some ambient moisture and prevent drippings from scorching.
Cover loosely with foil for the first few hours if you want more moisture, or leave it uncovered throughout for better bark. A 6-pound bone-in shoulder will typically take 8–10 hours at this temperature, but start checking internal temperature earlier.
Dutch Oven / Braising
Braising produces a different result: the meat is fall-apart tender and juicy but without any dry crust. Sear the shoulder hard on all sides in a hot Dutch oven, remove it, build a braising liquid (onion, garlic, beer or cider, a little vinegar, stock), return the meat, and cook covered at around 275°F (135°C) in the oven or at a very low simmer on the stovetop. This method is faster and more predictable. The trade-off is that there is no smoke and no bark.
Internal Temperature Is Everything
For pull-apart texture, the internal temperature at the thickest part of the roast (avoiding the bone) should reach between 195°F and 205°F (91–96°C). At 195°F the meat is done and safe; it will pull, but may still have some resistance. At 200–205°F the collagen conversion is more complete and the meat pulls easily into long, silky strands.
Food safety is achieved well before these temperatures. According to USDA guidance, whole cuts of pork are safe to eat at 145°F (63°C) with a three-minute rest. The higher temperatures used for pulled pork are purely about texture and collagen conversion, not safety.
A reliable instant-read or leave-in thermometer is the single most useful tool you can own for this cook. Do not rely on the pop-up thermometers that sometimes come with supermarket roasts.
The Rest: Don’t Skip It
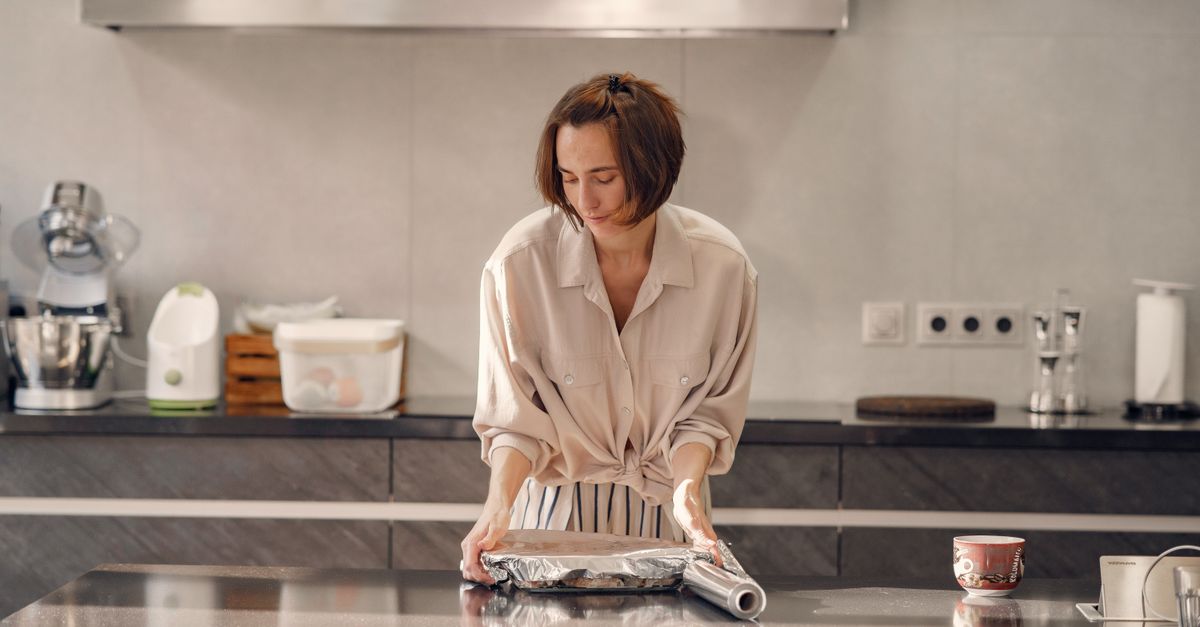
After the shoulder comes off the heat, rest it for at least 30 minutes. An hour is better. Wrap it in foil and then in a clean towel and place it in a cooler (no ice needed): the meat will hold safely at above 140°F for one to two hours this way, and the residual heat finishes the collagen while the juices redistribute. Resting improves the final texture more than almost anything else in the last stage of cooking.
Pulling and Serving
Use two forks, bear claws, or simply your hands (with heat-proof gloves) to pull the meat apart. Remove any large pieces of bone, thick fat, or gristle as you go. The goal is irregular shreds rather than uniform chunks; the ragged surface holds sauce and seasoning better.
Taste the pulled pork before adding any sauce — a well-seasoned, well-rested shoulder often needs very little. If it tastes flat, a splash of apple cider vinegar and a pinch of salt usually fixes it. Drizzle the reserved drippings back over the pulled meat before serving.
Leftovers keep well refrigerated and many cooks feel the pulled pork tastes better the next day once the seasoning has settled in.
Frequently Asked Questions
How long does a pork shoulder take at 225°F?
At 225°F (107°C), a bone-in Boston butt will generally take roughly 1.5 to 2 hours per pound, though this varies with the exact size of the roast, your specific cooker, and whether you wrap during the cook. Cook to internal temperature (195–205°F) rather than tracking time alone.
Can I cook pork shoulder overnight?
Yes, and many cooks prefer it. An oven set to 225–250°F (107–121°C) is stable enough for an unsupervised overnight cook on a wire rack with a foil-covered pan to catch drippings. Use a leave-in thermometer with an alarm so you know when it has hit temperature. Smoking overnight requires a cooker that can hold temperature reliably on its own, such as a pellet grill or a well-sealed charcoal smoker.
Why is my pulled pork tough even though it hit the right temperature?
Two common causes: the thermometer probe was near the bone (bone runs hotter than meat, giving a falsely high reading), or the roast hit temperature but was not held there long enough for collagen to fully convert. If your pork reached 200°F quickly on the thermometer but still feels tight, try holding it at that temperature for another 30–45 minutes before pulling it off. Resting also matters significantly.
Do I need to add liquid to the pan when cooking pork shoulder?
Not strictly. A pork shoulder has enough fat and collagen to stay moist through a long cook without added liquid. Adding a small amount (a cup of apple cider, beer, or water) to the bottom of the roasting pan mainly prevents drippings from scorching and creates some ambient humidity. If you are cooking on a grill or smoker, no liquid is needed in the cooking chamber.
What should I do with the drippings?
Pour the pan drippings through a fine strainer, let the fat rise to the top (or use a fat separator), and either drizzle the defatted juices back over the pulled pork or reduce them in a small pan for a few minutes to make a thin, intensely flavored finishing sauce. They are too good to discard.