Winter Boot Care: Clean, Dry, and Store Right
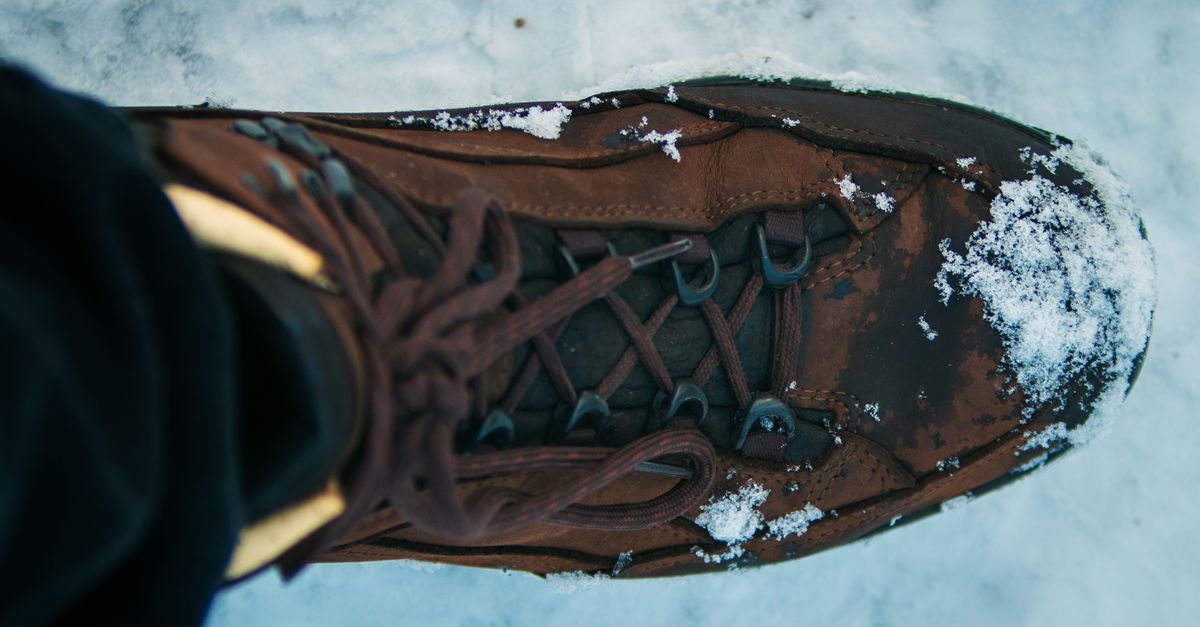
Why Boot Care Pays Off
Winter boots take a serious beating — road salt, slush, mud, and freezing temperatures all work together to crack leather, delaminate soles, and leave fabric liners smelling like a locker room. A little deliberate care after the season ends does more than improve appearances; it extends the lifespan of boots that might otherwise need replacing every two or three years.
The approach varies more than most guides admit. Leather, suede, rubber, and synthetic-fabric boots each respond differently to cleaning agents, and the storage conditions that suit one material can quietly damage another. This guide breaks it down by material and step, so you’re not guessing.
Winter maintenance habits matter across the household, and How to Care for Houseplants in Winter: Why January Kills Your Plants shows another area often neglected once the cold sets in.
Cleaning: Match Your Method to the Material
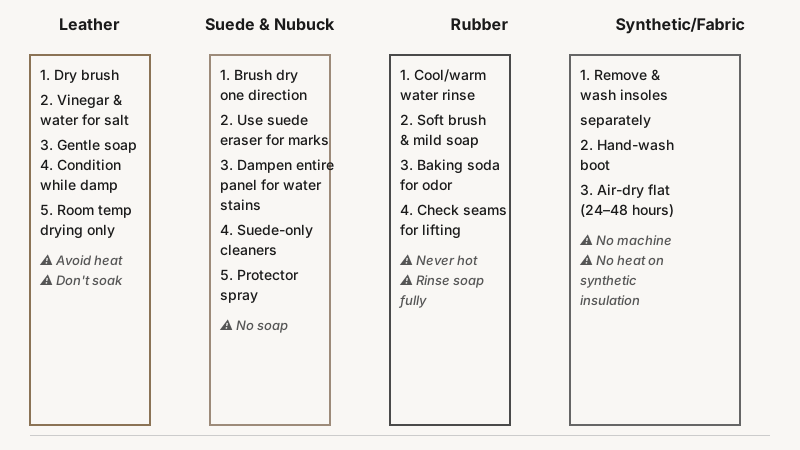
Leather Boots
Leather is the most forgiving to clean but the least forgiving of neglect. Salt stains — those white tide-marks left by road deicers — are the main enemy, because salt draws moisture out of the leather and leaves it brittle.
What you need: a soft brush, clean cloths, a small bowl of lukewarm water, white vinegar, and a quality leather conditioner.
- Remove loose dirt first. Use a dry brush or old toothbrush to knock off dried mud and grit before any water touches the boot. Scrubbing wet mud into leather drives it deeper into the grain.
- Treat salt stains. Mix equal parts white vinegar and water. Dampen a cloth with the solution and wipe the stained area gently — the mild acid dissolves salt deposits without stripping the surface. Let it sit for about a minute, then wipe with a clean damp cloth.
- Clean the whole boot. Use a leather cleaner or a very dilute drop of mild soap in water. Work in small circular sections; avoid soaking the leather.
- Condition while slightly damp. Leather absorbs conditioner best when it still has a little moisture. Apply a lanolin- or beeswax-based conditioner sparingly, let it absorb for 15–20 minutes, then buff off the excess. Conditioning restores the oils that salt and cold extract.
- Dry at room temperature. Never use a radiator, hair dryer, or direct heat — rapid drying causes cracking and warping, especially at the toe box and heel seam.
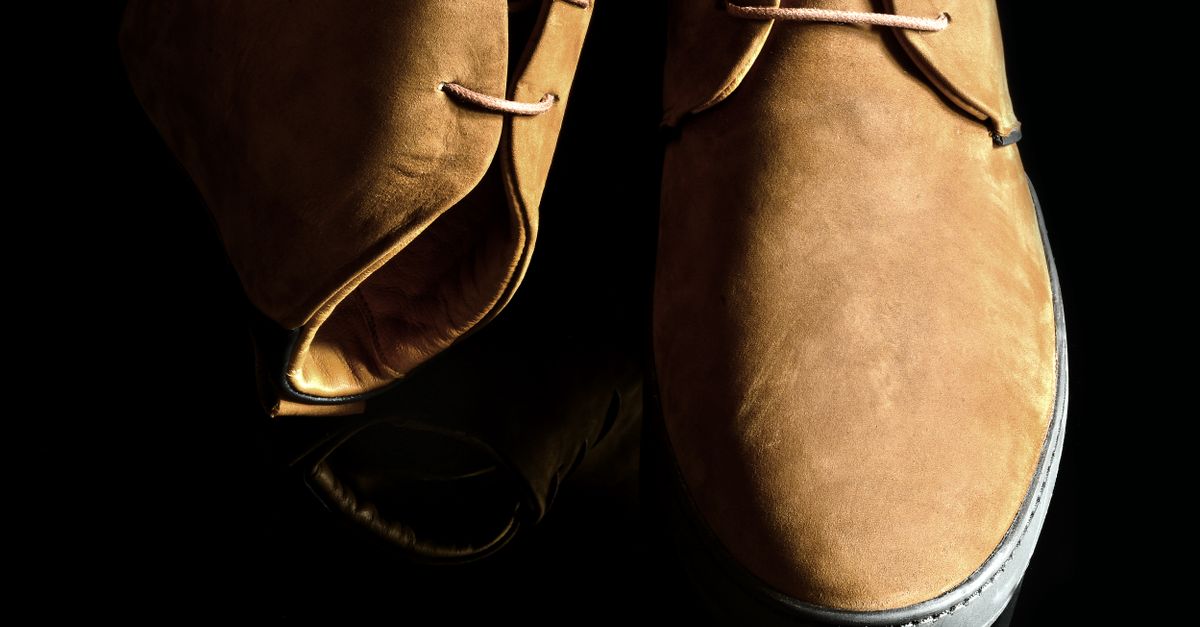
Suede and Nubuck Boots
These textures look luxurious until they meet winter, at which point they attract salt lines, water marks, and stains with unusual enthusiasm. The good news: most damage is reversible if you catch it before it sets.
- Brush dry first, always. A suede brush (or a soft nail brush) used in one direction lifts the nap and dislodges surface dirt without pushing it in.
- Erase light marks. A suede eraser — essentially a dense crepe rubber block — rubs away scuffs and minor salt marks. Work gently; you’re erasing, not sanding.
- Water marks need water. Counterintuitively, a water stain on suede is often best removed by lightly dampening the entire panel with a sponge, then letting it dry uniformly — so the tide-mark doesn’t have an edge to form.
- Avoid liquid cleaners unless suede-specific. Regular soap or leather conditioner can flatten the nap permanently. Use products labeled explicitly for suede or nubuck.
- Re-apply suede protector spray before storage (more on that below).
Rubber and Waterproof Boots
Rubber rain boots and fully waterproof pac-style boots are the easiest to clean but have their own quirks. Rubber degrades from UV exposure and ozone over time, and the inner lining — often fleece or neoprene — traps odor.
- Rinse with cool or lukewarm water — hot water can loosen the bond between rubber and fabric layers.
- Scrub with a soft brush and mild soap. Rinse thoroughly; soap residue left on rubber can accelerate surface cracking on subsequent drying cycles.
- Address the interior. Mix a tablespoon of baking soda in warm water, pour a small amount inside, swirl, and pour out. For persistent odor, a few drops of tea tree oil in the rinse water can help, though results vary by the severity of the odor and how well the liner dries afterward.
- Check seams and seam tape. Waterproofing often fails at seams first. If you see lifting tape or separation, a seam sealer (available at outdoor gear retailers) applied before storage prevents the gap from widening.
Synthetic and Fabric Boots
Boots with nylon, canvas, or woven-textile uppers — common in hiking-style winter boots — can often be cleaned more aggressively, but synthetic insulation inside is heat-sensitive.
- Remove and wash the insoles separately if they’re removable. Hand-wash with mild soap, rinse well, and air-dry flat — they can take 24–48 hours to dry fully in a humid environment.
- Spot-clean the exterior with a stiff brush and a dilute all-purpose cleaner or dedicated boot wash. Rinse with a damp cloth rather than running water, to avoid saturating the insulation.
- Machine washing is occasionally listed as acceptable by manufacturers for some boots, but check the label carefully — agitation can separate glued midsoles and ruin waterproof membrane bonding.
Drying: The Step Most People Rush
Incomplete drying before storage is the single biggest cause of mold, mildew smell, and material deterioration. It deserves its own section.
- Cedar shoe trees help leather boots hold their shape and absorb residual moisture. Shaped cedar also releases a mild antimicrobial aroma that slows mold growth.
- Crumpled newspaper is a low-cost alternative — it absorbs moisture well, though it needs replacing every few hours if the boots are very wet.
- Boot dryers (low-heat electric devices with prongs) work well for heavily saturated boots, particularly fabric or rubber types. Keep the heat setting low; models marketed for ski boots or hunting boots often have a “gentle” setting suitable for street footwear.
- Allow 24–48 hours of air-drying at room temperature before considering a boot dry enough to store. If the liner still feels cool and damp to the touch, it’s not done.
- Leave the tongue pulled open to allow airflow into the toe box, where moisture lingers longest.
Pre-Storage Protection
Once clean and completely dry, a few minutes of protective treatment can make the difference between boots that look fresh next season and boots that feel stiff and faded.
For leather: Apply a thin coat of wax or cream polish in a neutral or matching color. This seals the leather surface against humidity fluctuations during storage. Some people use mink oil; it conditions well but can slightly darken leather, so test on a hidden area first.
For suede and nubuck: A fluorocarbon-based waterproofing spray — applied in a well-ventilated area at about 30 cm (12 inches) from the surface — refreshes the protective barrier. Apply two light coats rather than one heavy one; let each coat dry for 10–15 minutes before the next.
For rubber: A thin wipe of rubber conditioner or even a small amount of Armor All–type protectant prevents surface cracking and UV-related micro-checking. Avoid silicone-based products on boots that have rubber-to-fabric bonds, as silicone can migrate and weaken adhesives over time.
For all boots: Stuff the interiors loosely to maintain shape without over-stretching. Boot shapers or rolled acid-free tissue paper work well. Avoid overstuffing newspaper for long storage — over weeks it can transfer ink and become musty.
Storing Winter Boots: Conditions Matter
The right storage environment is as important as the cleaning itself.
The same mildew-prevention principles apply to other gear you pack away for the season, as explained in How to Clean and Store Camping Gear: Stop Mildew Before It Starts.
Temperature and Humidity
Extreme heat causes glue in midsoles to soften and creep, and can cook the plasticizers out of synthetic materials. Extreme cold is less damaging to dry boots, but a damp-cold environment encourages mold. A consistent, moderate temperature — roughly 10–20 °C (50–68 °F) — and relative humidity around 40–60% is ideal. An interior closet away from exterior walls is usually adequate.
Avoid storing boots in:
- Attics (too hot in summer, temperature swings)
- Garages (humidity, temperature extremes, exhaust fumes)
- Basement floors directly (humidity wicks up from concrete)
If your storage area is damp, a small silica gel packet placed inside each boot absorbs ambient moisture and helps prevent mildew during long storage.
Containers and Positioning
- Breathable bags or pillowcases are better than sealed plastic bags, which trap residual moisture and allow mold to develop. If you want to keep dust off, a cotton boot bag is the right tool.
- Original boxes with ventilation holes work well and preserve boot shape, but cardboard that gets damp can transfer stains — check the box is dry before use.
- Stand boots upright if storage space permits; this prevents the shaft from creasing and the sole from bending into an unnatural curve over months.
- Boot shapers or tube inserts keep tall shaft boots from flopping and creasing at the ankle, which can eventually crack stiff leather.
Separating Pairs
Store left and right boots facing the same direction rather than sole-to-sole. Sole edges have texture and hardware (lug patterns, cleats) that can gouge or press into the adjacent boot’s upper over months of contact.
Before You Wear Them Again
A brief ritual at the start of the next winter season saves the first wet walk from undoing your storage work:
- Remove boot shapers and air the interior for a few hours.
- Inspect soles for delamination — press along the welt edge to check if any area has started to separate. Repair early with boot adhesive; full sole separation mid-season is far more expensive to fix.
- Re-condition leather or re-spray suede before the first wear, since the conditioner from storage may have been partially absorbed.
- Check laces for fraying; replacing laces costs almost nothing and affects fit and ankle support more than most people expect.
Frequently Asked Questions
Can I use a washing machine to clean winter boots?
For most winter boots, no. Machine washing risks delaminating glued soles, destroying waterproof membrane bonding, and warping structured toe boxes. A small number of fabric-upper boots explicitly allow machine washing — check the care label. When in doubt, hand-clean.
How do I get rid of the salt-white stains on leather boots?
A 50/50 solution of white vinegar and water, applied with a soft cloth, dissolves road salt deposits effectively. Wipe gently, let the area dry naturally, then condition the leather — salt stains that have been there a while may need two applications before they fade fully.
My boots smell even after cleaning. What helps?
Odor usually lives in the insole and liner, not the outer shell. Remove insoles and let them air out separately for at least 24 hours. A thin layer of baking soda left inside the boot overnight absorbs much of the odor; pour it out before wearing. For persistent odor, activated charcoal insoles or a boot-specific deodorizer spray tend to outperform home remedies, though they don’t fix the root cause — insufficient drying after each wear.
Is it safe to store boots in vacuum-seal bags to save space?
Not for leather or structured boots. Vacuum sealing compresses the upper, creases the shaft, and removes the air that leather needs to remain supple. It can also trap any remaining moisture against the material. Fabric-only boots with no rigid structure are more tolerant, but breathable storage is still safer for long periods.
How often should I condition leather winter boots?
Condition at the end of the season before storage, and again at the start of the season before the first wear. During active use in harsh conditions — daily salt exposure, repeated wetting and drying — conditioning once a month is reasonable. Over-conditioning (applying too much, too often) can clog leather pores and leave a greasy residue that attracts dirt, so use a light hand.