Garage Workbench Organization That Actually Sticks
Start With a Clear-Out, Not a Container Run
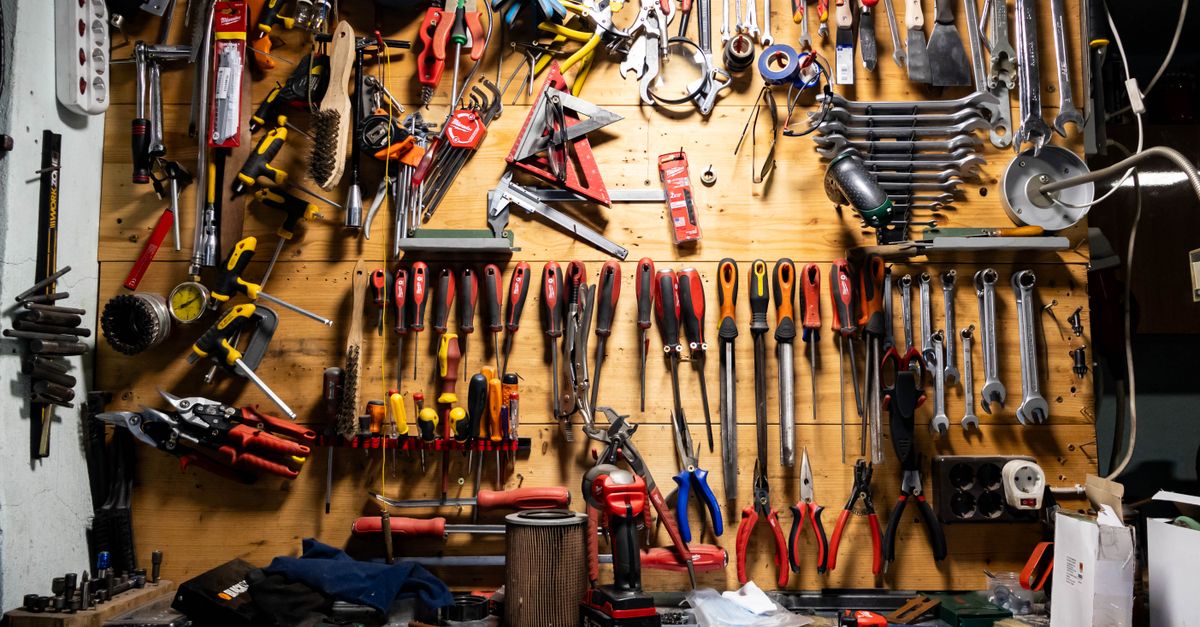
Before you buy a single bin, hook, or drawer organizer, pull everything off the workbench and out from under it. Place items in three piles: keep at the bench, store elsewhere in the garage, or discard. This step is easy to skip — and it’s the reason most workbench reorganizations fall apart within a month. You end up designing storage around clutter rather than around how you actually work.
Once the surface is bare, take stock of what stays. Group tools by the type of task they support: electrical work, woodworking, automotive, general fastening. You’ll immediately see which groups are large enough to deserve dedicated zones and which can share a drawer.
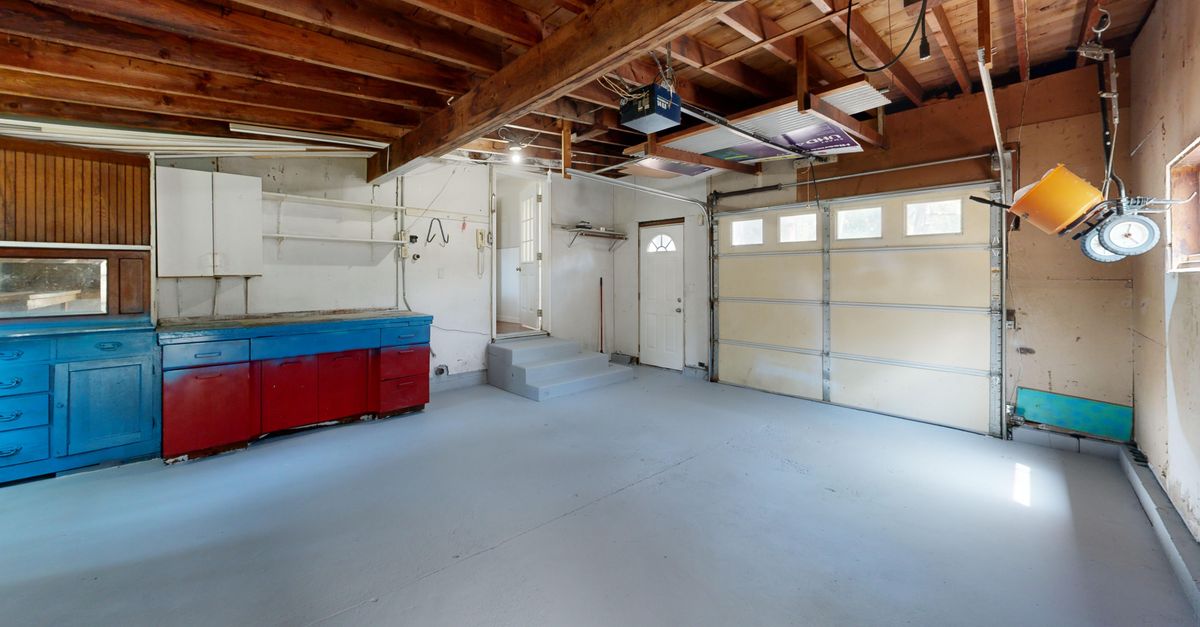
If the clutter problem extends beyond the bench to the whole garage, How to Organize a Cluttered Garage: Zones Before Shelving, Not After walks through setting up zones before you buy any shelving.
How Should You Zone the Workbench Surface?
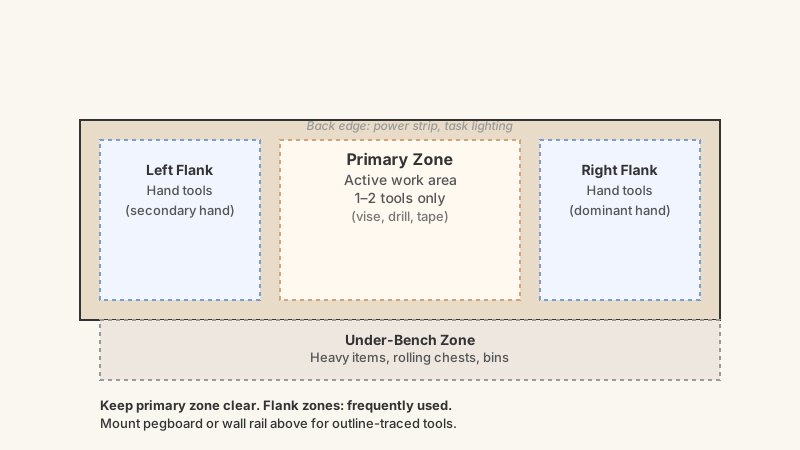
Divide the workbench into three horizontal zones that mirror how you actually move while working.
Primary zone (directly in front of you, arm’s reach): This is your active work area — keep it clear except for the one or two tools you reach for on almost every job. A vise, a measuring tape, and a cordless drill qualify. A pile of miscellaneous screws does not.
Left and right flanking zones: Station frequently used hand tools here. The side dominant for your strong hand gets the most-reached items. Wall-mounted pegboards or shallow drawers directly beside the bench are the natural overflow for this zone.
Under-bench zone: Reserve this for heavier or bulkier items — rolling tool chests, stacked bins, finishing supplies. The under-bench space is often wasted as a dumping ground; treat it instead as deliberate overflow storage.
Keep the back edge of the bench surface for power strips, task lighting, and items you reach for less than once per project — not as a graveyard for parts you haven’t categorized yet.
What Storage Systems Actually Work on a Workbench?
Several storage formats are genuinely effective at a workbench, and the right mix depends on what you’re storing.
Pegboard and Wall Rail Systems
A 4×4-foot pegboard section mounted at eye level behind the bench is one of the highest-return investments in garage organization. Hooks, shelves, and bins snap into the grid, and more importantly, the outline method — tracing each tool with a marker — makes it obvious at a glance when something is missing. This matters less in a solo shop and a lot in a shared garage.
Wall rail systems (the slotted aluminum tracks you see in retail displays) hold more weight than standard pegboard and are worth the extra cost if you’re hanging heavier items like clamps, levels, or small hand planes.
Drawers and Shallow Bins
Drawers beat open bins for small parts because small parts migrate. If you keep drill bits loose in a bin, they’ll mix with other bits, screws, and mystery washers faster than seems physically possible. A shallow drawer with foam inserts or a divided organizer tray keeps each size separate and findable.
For nuts, bolts, and fasteners, a screw-top jar system mounted under a shelf — lids screwed to the shelf underside, jars hanging below — is inexpensive, transparent, and doesn’t eat bench or drawer space.
Rolling Tool Chests
A rolling chest positioned at the end of the workbench extends your functional surface area and travels with you for jobs elsewhere in the garage. Choose a chest with a solid top surface so it doubles as a staging area. The trade-off: a chest takes up floor space and makes under-bench access awkward, so commit to that position before you buy.
Magnetic Tool Bars
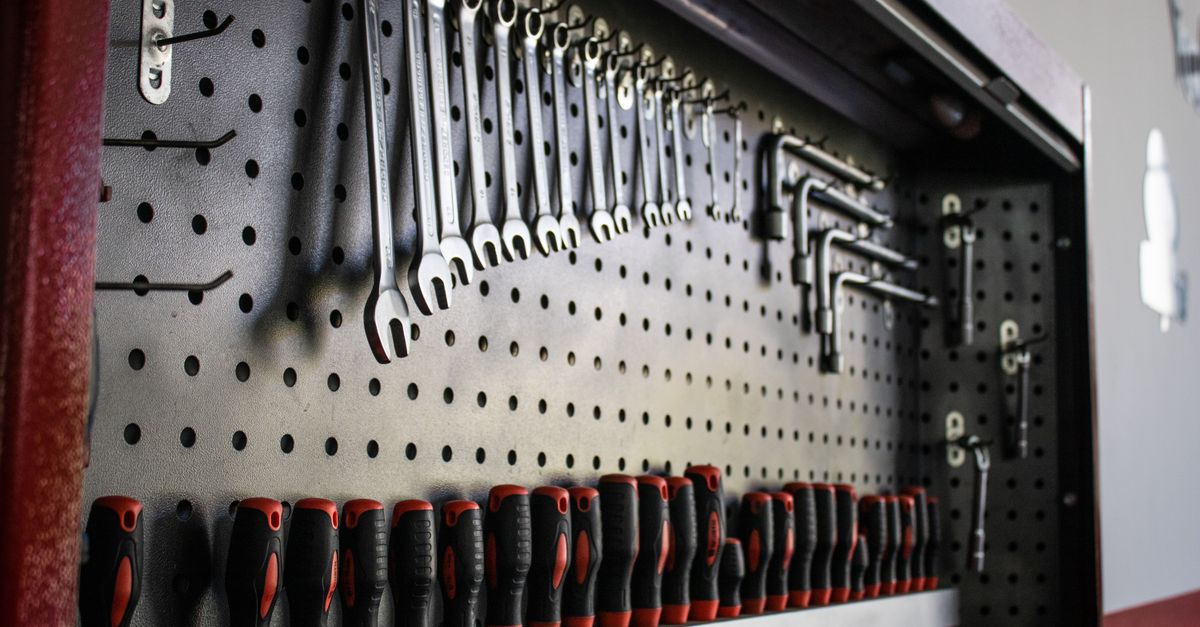
A magnetic bar strip mounted on the wall or along the back edge of the bench is particularly useful for screwdrivers, chisels, and wrenches — tools with metal shanks that you reach for constantly. Stronger neodymium-style bars hold heavier items without them sliding down; cheaper ferrite bars are fine for lighter screwdrivers but can struggle with full-size wrenches.
Handling Cords and Power at the Bench
Unmanaged cords are the fastest way to undo an organized workbench. A few practical fixes:
- Dedicated power strip, bench-mounted: Screw or clamp a heavy-duty power strip to the back of the bench frame so outlets sit above the surface rather than on the floor. This eliminates the coiled extension cord that collects sawdust and gets stepped on.
- Cord reels for long-reach tools: If your shop vac or corded drill gets pulled to different spots in the garage, a retractable cord reel on the ceiling keeps the cord out of the way when not in use.
- Charging station in one spot: Pick a single location on or near the bench for all battery chargers. A labeled shelf or shallow tray keeps packs upright and tells you immediately which are charging and which are ready.
Avoid letting power cords drape over the front edge of the bench — tools hanging from cords is a trip-and-pull hazard and damages connectors over time.
How to Make the System Easy to Maintain
The gap between a well-organized workbench and a perpetually messy one is rarely a storage problem — it’s a reset problem. If putting something back takes more effort than setting it down on the closest flat surface, the flat surface wins every time.
Four principles that improve the odds:
- Every item needs a home before you start a project, not after. If a tool doesn’t have a spot, it will colonize the bench surface.
- Label everything you can’t see through. Drawers, boxes, bins — if the label doesn’t describe the contents specifically enough to sound almost unnecessary, it’s too vague.
- End-of-session reset takes two minutes if the system is right. Time yourself. If it takes longer, the storage locations are too hard to reach or too spread out.
- Ban the bench-as-inbox habit. The workbench is not a shelf for items you haven’t decided where to put yet. Put a small separate shelf or hook near the garage door specifically for inbound items, so the bench surface stays off-limits as a staging area.
Small-Bench and Tight-Space Solutions
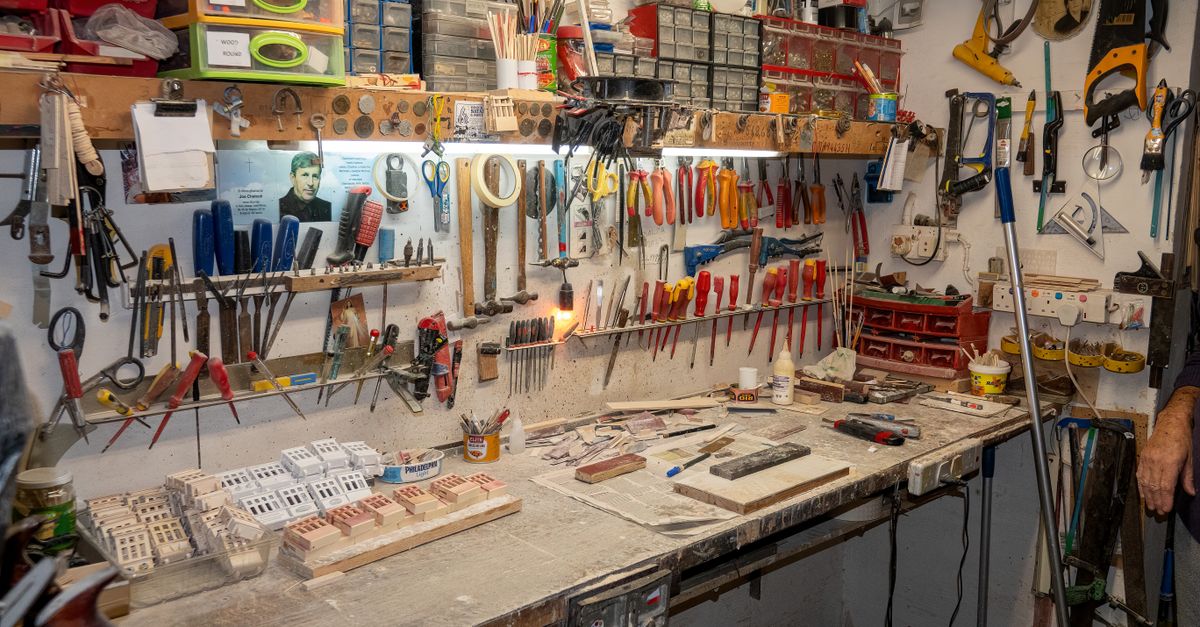
Not every garage has room for a full 6-foot workbench and a rolling chest. If you’re working with a half-garage, a shared space, or a bench that folds down from the wall, the same principles apply — just compressed.
- Fold-down wall benches free floor space when not in use. Pair them with a French cleat wall above so all your tools store vertically and the system still functions even when the bench is folded up.
- A single deep drawer unit mounted to the wall beside the bench can replace a full chest in tight spaces. Full-extension drawer slides matter here — you want access to the back of the drawer without pulling everything out.
- Stackable modular bins in one or two standard sizes reduce visual chaos and let you reconfigure as your tool inventory changes. Mixing three different bin systems creates more confusion than it solves.
Frequently Asked Questions
What is the best height for a garage workbench?
The standard recommendation is elbow height, roughly 34–36 inches for most adults, but precise height depends on the work you do most. Bench work requiring downward pressure — chiseling, sanding — benefits from a slightly lower surface (32–34 inches). Fine detail work, like electronics repair, is often more comfortable a few inches higher so you’re not hunching. Adjustable-leg workbenches exist for this reason.
How do I store long items like lumber or pipe at the workbench?
Vertical wall-mounted holders or horizontal pipe brackets work well. A set of angled steel bars screwed into studs above the bench keeps lengths of conduit, molding, or dowels separated and easy to grab individually. Avoid leaning long items against the bench wall — they slide, fall, and block access.
Should I use a pegboard or a French cleat wall?
Pegboard is cheaper and installs faster; it suits garages where your tool inventory is stable and you don’t anticipate major reorganizations. A French cleat wall is more flexible — any holder or shelf you build fits any position on the wall — and is worth the extra effort if you add tools often or want to build custom holders for awkward items. Both work well; the choice comes down to whether flexibility or simplicity matters more to you.
How often should I reorganize the workbench?
A thorough clear-out once or twice a year is realistic for most home workshop users. More useful than scheduled reorganizations is a standing rule: if a tool hasn’t moved from the bench surface in two weeks, it either gets a permanent spot or leaves the bench. This rolling rule prevents slow accumulation far better than annual purges.
For a broader mindset shift on keeping possessions in check, Minimalism for Beginners: Start Small, Change Everything makes the case for owning less in the first place.
What’s the best way to organize small hardware like screws and nails?
Transparent containers sorted by size and type, with specific labels, beat any system that groups by rough category (“screws”) rather than specification (“#8 wood screws, 1.5 inch”). Screw-top jars mounted under a shelf, stackable hardware organizer cases with adjustable dividers, and small-parts cabinets with labeled drawers all work — the key is that the label tells you exactly what’s inside without opening it.