Polishing Leather Shoes: Technique Over Products
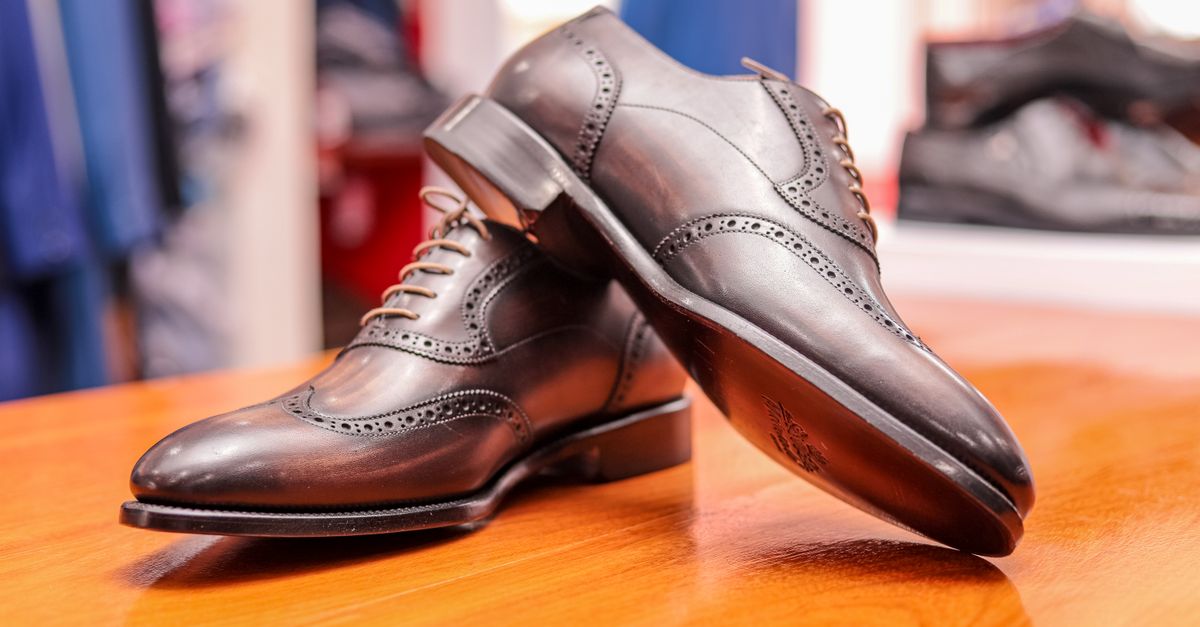
A good polish job is less about which tin you buy and more about what you do with it. Done right, polishing deepens colour, fills minor scuffs, and builds a protective film that keeps moisture from soaking into the grain. Done wrong—skipping the clean, piling on too much product, using the wrong cloth—it leaves a chalky haze or, worse, seals in grime that slowly degrades the leather.
This guide walks through every stage, explains why each step matters, and flags the spots where most people cut corners.
Start with a Thorough Clean
Polishing over dirty leather is like painting a wall without priming it. The polish won’t bond evenly, and embedded dirt continues to abrade the surface underneath.
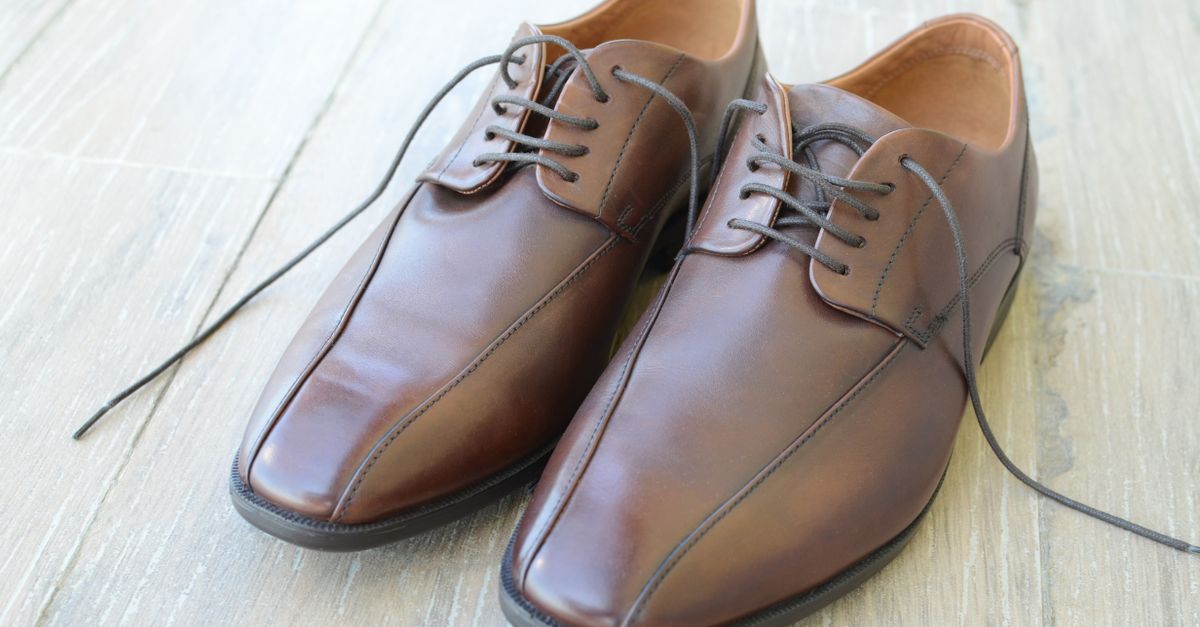
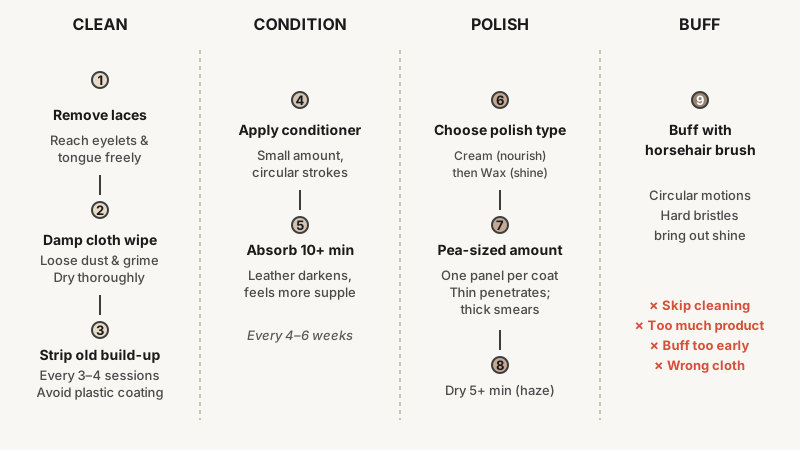
Remove the laces
Pull the laces out completely. This isn’t finicky—it’s the only way to reach the eyelets and the tongue without awkward folds trapping polish.
Wipe off loose dust and surface grime
Use a slightly damp cloth or a dedicated leather cleaning cloth. For city shoes that have picked up road salt or dried mud, a saddle soap or a pH-neutral leather cleaner is worth the extra minute. Work in small circles, then wipe dry.
Avoid soaking the leather. You want the surface damp enough to clean, dry enough not to swell the fibres.
Remove old polish build-up
Every three or four polish sessions, strip back the old layers with a leather cleaner or a small amount of white spirit on a cloth. Build-up creates a thick, plasticky coating that cracks at flex points—the vamp across the toe, the waist near the arch. Stripped leather looks dull briefly; that’s normal.
Condition Before You Polish
This step gets skipped more than any other, and it’s where long-term damage accumulates.
Leather is tanned animal skin. Its suppleness depends on oils within the fibre structure. Heat, dry air, rain cycles, and repeated polishing all gradually draw those oils out. A leather conditioner—mink oil, a lanolin-based cream, or a modern synthetic leather balm—replenishes what’s lost.
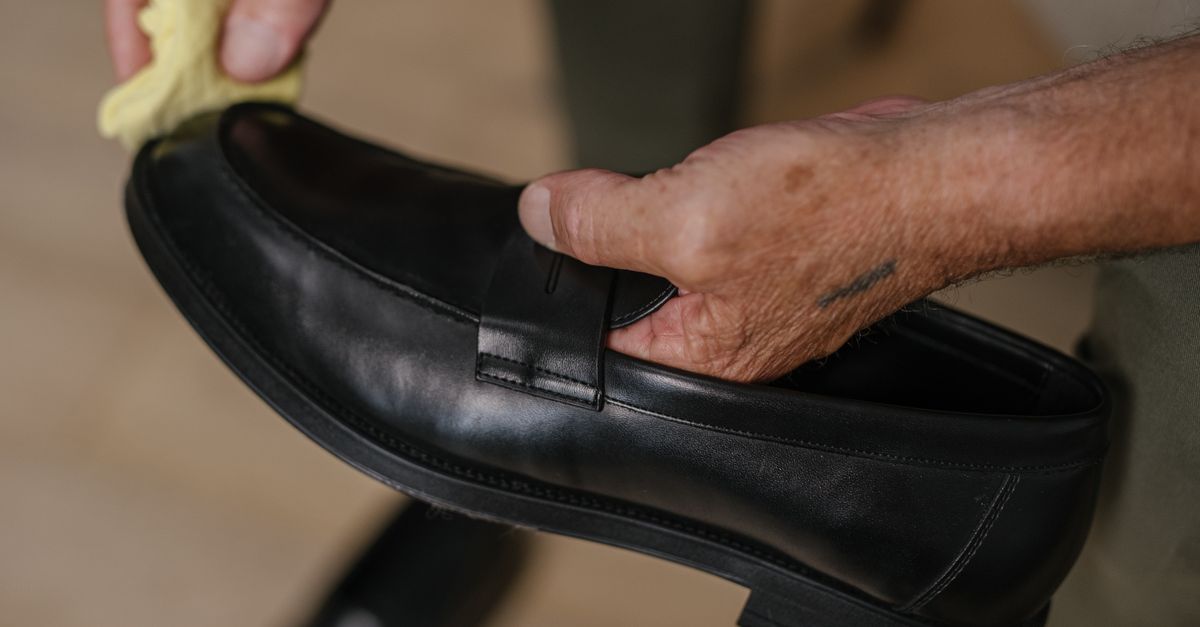
Apply a small amount with a soft cloth, work it in circular strokes over the whole upper, and let it absorb for at least ten minutes. You’ll notice the leather looks a shade darker and feels less stiff at the toe box.
When to condition: roughly every four to six weeks for shoes worn two to three times a week, or any time the leather feels dry or shows fine surface cracking.
What to use: a neutral or colour-matched conditioner keeps the shoe’s original tone. Mink oil is effective but slightly darkens leather permanently—fine on dark browns and blacks, potentially unwanted on tans.
The same conditioning principles apply to other leather goods around the house, as explained in How to Clean a Leather Sofa: Avoid The Watermarks And Cracked Finish.
Applying the Polish
Choose the right product for the finish you want
Shoe polish comes in three main forms, each with a different result:
- Wax polish (paste or cake): builds shine, provides water resistance, and is the traditional choice. Carnauba wax-based formulas give the hardest, most mirror-like finish.
- Cream polish: softer, penetrates the leather slightly, nourishes as it colours. Produces a soft sheen rather than a high shine. Good for everyday maintenance.
- Liquid polish (applicator sponge types): fast but thin—minimal conditioning, minimal durability. Useful as a quick touch-up, not as a foundation.
For a full polish, the most reliable approach is a cream to colour and nourish, followed by a wax to build the shine.
Match the colour — or go neutral
A polish close to the shoe’s original colour fills light scuffs and keeps the tone even. Neutral/clear wax doesn’t feed the colour but works on any shade and is the safest choice for multicolour or exotic leathers. Going darker is a one-way street: tan shoes polished with medium brown will read brown from that point on.
Apply sparingly
This is where most people go wrong—too much product. Load a small dauber brush or wrap your index finger in a cloth and take a pea-sized amount of polish per section. Work it into the leather in small circular strokes, covering one panel of the shoe at a time: toe cap, vamp, quarters, heel.
A thin, even coat penetrates; a thick coat sits on the surface, takes longer to dry, and smears when buffed. If the shoe looks glossy right after application, you’ve applied too much.
Let it dry
Wax polish needs at least five minutes to haze over (longer in cold or humid conditions). Cream polish dries faster. Don’t rush this—buffing before the solvent carrier fully evaporates produces a smeared, uneven shine.
Buff with a horsehair brush
A stiff horsehair polishing brush removes the haze and raises the shine through light friction. Use brisk, short strokes—fore and aft along the length of the shoe, not across. Thirty seconds of vigorous brushing on each section is enough. The heat from friction actually helps the wax bond slightly.
For stitched welts and creases around the heel, use a smaller brush or a cotton bud to avoid smearing white wax into the grooves.
Building a High (Mirror) Shine
A spit-shine or ’boning’ finish—the parade-ground gloss seen on military dress shoes—is not about a special product; it’s about layering thin coats of hard wax with a small amount of moisture.
- After your base polish, take a lint-free cloth (a tight-weave cotton T-shirt works) wrapped around your index finger.
- Dab a tiny amount of hard wax polish onto the cloth.
- Add a single drop of water (or a breath of moisture) to the cloth.
- Work in very small, tight circles on the toe cap and heel counter—the rigid sections that flex least.
- Allow each layer to haze, then repeat. Four to six thin layers build the characteristic deep, reflective finish.
A mirror shine on a flexible section like the vamp will crack at the first wear. Reserve it for the cap and heel.
Finishing Touches
Re-lace the shoes using clean laces—a beautifully polished shoe with dirty grey laces undercuts everything.
Treat the welt and sole edge: a welt dressing or edge dressing applied with a small brush keeps the sole edge from drying and cracking, and gives the shoe a finished silhouette.
Store correctly: cedar shoe trees go back in immediately after wear, before polishing. The cedar absorbs moisture and holds the shoe’s shape, which prevents the toe box creasing deeply and the quarters splaying. A shoe that creases badly is much harder to polish evenly because the wax cracks in the fold.
How Often Should You Polish?
For shoes worn regularly, a light cream-polish pass every one to two weeks keeps the leather healthy. A full wax shine every three to four weeks is enough for most people. Polish too often with wax and you build up the thick layers mentioned earlier; too rarely and the leather dries out between conditionings.
Rain-soaked shoes need separate handling: let them dry naturally away from direct heat, then condition once they’re fully dry—wet leather is vulnerable to heat cracking. Polish only after conditioning.
If you’re thinking about maintenance schedules for other everyday items, How to Wash a Backpack Properly: Skip The Machine, Save The Straps offers a similar approach for keeping gear in good shape.
Frequently Asked Questions
Can I use the same polish on suede or nubuck shoes?
No. Suede and nubuck have a raised nap that wax or cream polish will mat down permanently. Use a suede brush and suede-specific sprays. Once wax is pressed into nubuck, it’s extremely difficult to reverse.
My shoes have white salt stains from winter — how do I remove them?
Mix equal parts white vinegar and water, dab onto the stain with a cloth, and let it dry. The mild acid neutralises the salt residue. Then condition and polish as normal. Rubbing aggressively or applying polish directly over salt stains will trap the residue and accelerate the leather’s breakdown.
Does the colour of the polishing cloth matter?
For buffing, use a light-coloured or white cloth so you can see when excess wax is lifting. A dark cloth hides build-up. For application, any clean lint-free cloth works.
Is petroleum jelly (Vaseline) a viable alternative to shoe polish?
It moisturises in a pinch and can temporarily restore a dull finish, but it doesn’t contain wax or pigment, so it neither builds shine nor colours scuffs. It also attracts dust. Use it only as a very short-term emergency measure.
How do I fix a deep scuff that’s gone through the finish?
Fill the scuff first: a matching cream polish or a specialist leather filler applied in thin layers, allowed to dry between each, will build up the depression. Then polish over the top. For scuffs that reach the raw leather, a leather dye matched to the shoe’s colour is more durable than wax alone.