Touch Up Wall Paint Without Repainting the Whole Room
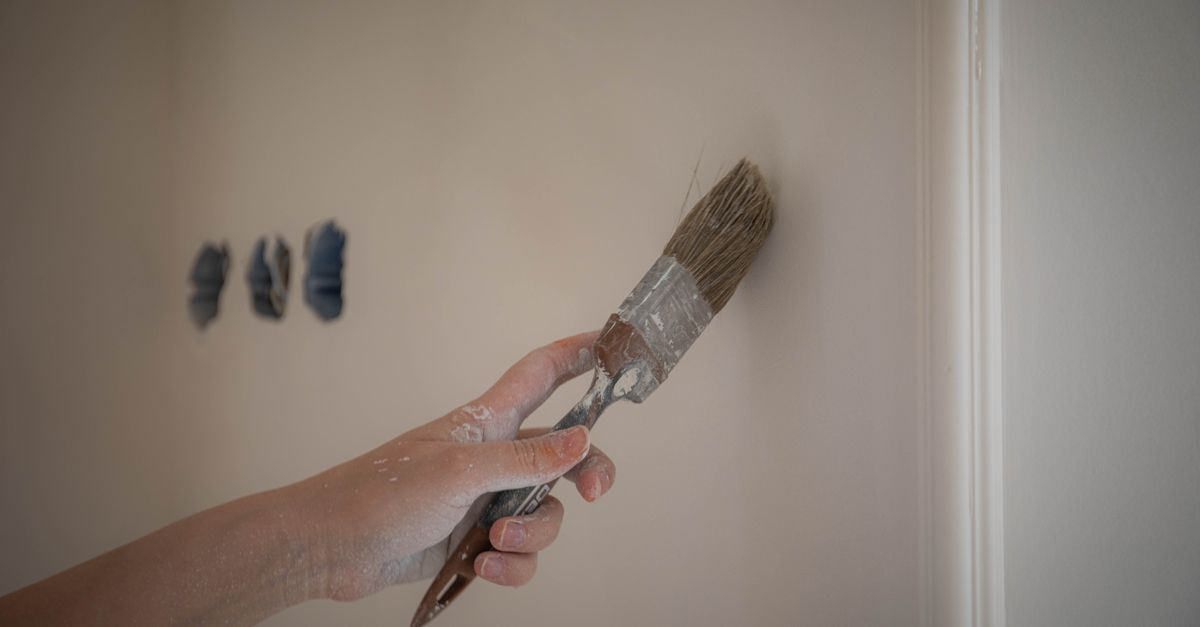
Getting a scratch, scuff, or small hole repaired without rolling out a full repaint sounds straightforward — until you end up with a blotchy patch that looks worse than the original damage. The fix is real, but it depends on matching three things at once: the color, the sheen, and the texture. Nail all three and the repair disappears. Miss one and it announces itself every time light rakes across the wall.
Why Touch-Ups Fail (and What to Fix First)
Most failed touch-ups share a predictable set of causes:
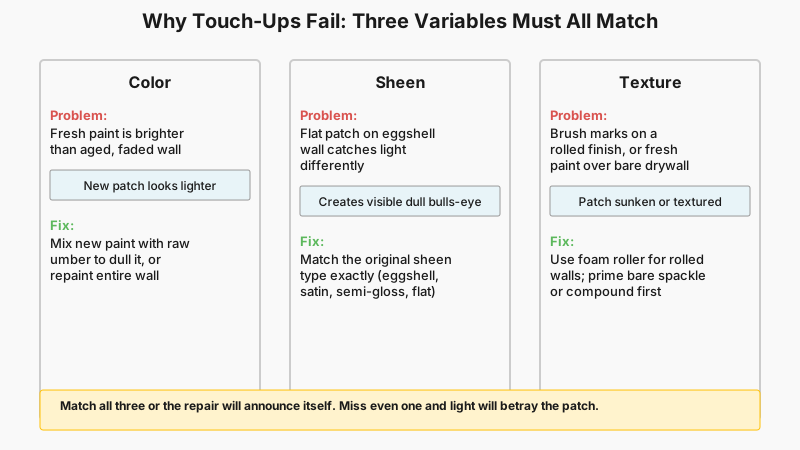
- Wrong sheen. A flat patch on an eggshell wall catches light differently and creates a dull bulls-eye even when the color matches perfectly.
- Fresh paint on aged paint. New paint is brighter. Wall paint fades and oxidizes over months and years, so a direct spot application almost always reads lighter or more saturated.
- Brush marks in a rolled finish. If the original coat was rolled, brushing on a small dab leaves texture lines that are visible from across the room.
- Skipping primer on bare drywall. Spackle and joint compound are porous; they soak up finish paint and produce a flat, sunken ghost even after several coats.
Knowing these failure modes turns the process from guesswork into a sequence of deliberate decisions.
If the damage in question is actually scuffing rather than a chip or dent, our guide How to Remove Scuff Marks from Walls: Erase Streaks Without Repainting covers a faster fix that skips paint entirely.
Finding and Preparing the Right Paint
Locate Your Original Paint
The easiest source is leftover paint from the original job. Check the lid for a date and stir it thoroughly — pigment settles at the bottom, and unstirred paint will apply unevenly. If the can has been open, the surface may have skinned over; cut around the skin with a utility knife and lift it out cleanly. Give it a stir, then brush a test patch on white paper and compare it to the wall once dry. (Wet paint is always darker.)
If you no longer have the original paint, check the wall itself for a paint code. Many builders and decorators tape the paint code or brand name inside a closet or behind a switch plate. Failing that, a color-matching service at a paint retailer can scan the wall with a spectrophotometer and mix a very close match — the accuracy depends partly on wall condition and how much the original has faded.
Age the Fresh Paint (When Possible)
Before touching up a wall that has years of fade on it, try “knocking back” the new paint. Mix a small amount of the original color with a teaspoon of raw umber or burnt sienna universal colorant — just enough to dull it slightly — then test on paper before committing. This is an art, not a science, but it often closes the gap between new paint and aged wall significantly.
Alternatively, if you have enough leftover paint, repaint the entire wall from corner to corner (one surface, not one patch). This is the most reliable way to hide a repair without repainting the whole room, and it avoids the color-matching problem entirely.
The Repair Process, Step by Step
1. Clean the Damaged Area
Wipe the surface with a lightly damp cloth to remove grease, dust, and surface oils. For kitchen or bathroom walls, a drop of dish soap in warm water cuts through cooking residue. Let it dry completely before proceeding.
2. Fix the Physical Damage
For nail holes and small dents (under ¼ inch / 6 mm): A lightweight spackling compound works well. Apply it with a putty knife, feather the edges flush to the surrounding surface, and let it dry fully — drying time varies by product, filler depth, and room humidity, so check the manufacturer’s guidance rather than assuming a fixed window.
For larger holes (¼ inch to about 4 inches / 6–100 mm): Use a drywall patch kit or cut a clean square around the damage, install a backing piece, and apply setting-type joint compound in thin coats. Multiple thin coats prevent cracking and shrinkage better than one thick application. Sand each coat lightly with 120-grit, then finish with 220-grit for a smooth surface.
For scuffs and surface marks: Many scuffs haven’t broken the paint film. A magic eraser (melamine foam) removes a surprising number of scuffs without any paint at all — try it first.
3. Prime the Repair (Don’t Skip This)
Apply a thin coat of PVA primer or a shellac-based spot primer to any bare spackle or compound. This seals the porous surface and prevents the finish coat from looking flat and sunken — the classic “witness ring” you see when paint is applied directly over fresh compound. Let it dry fully.
4. Match the Application Method
This is the step most tutorials underplay.
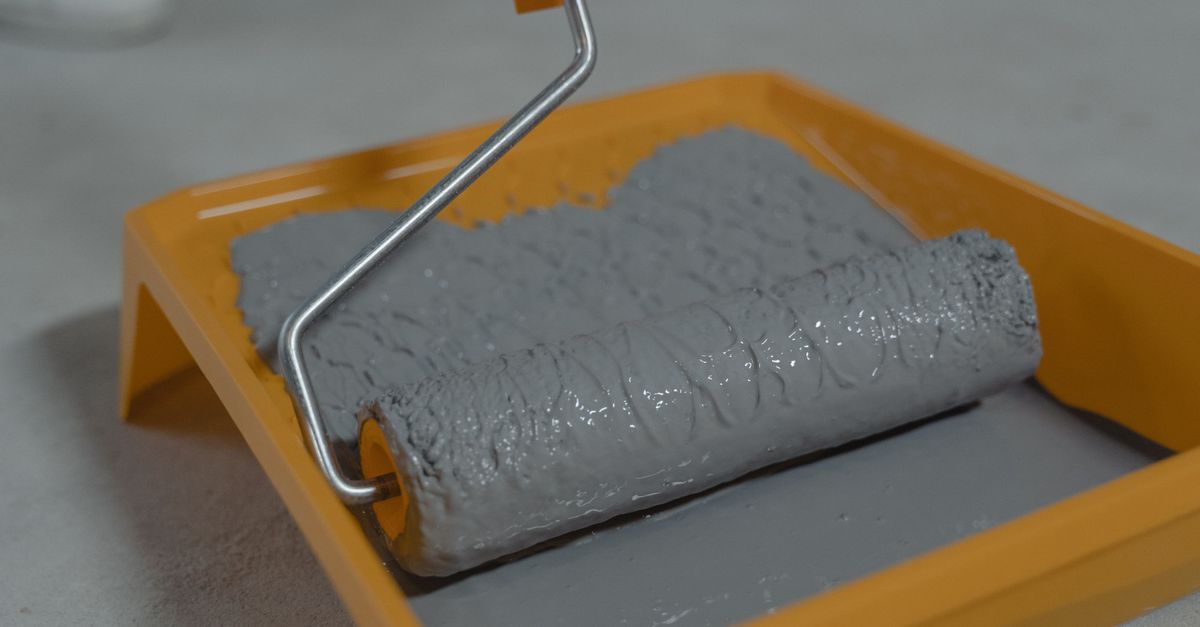
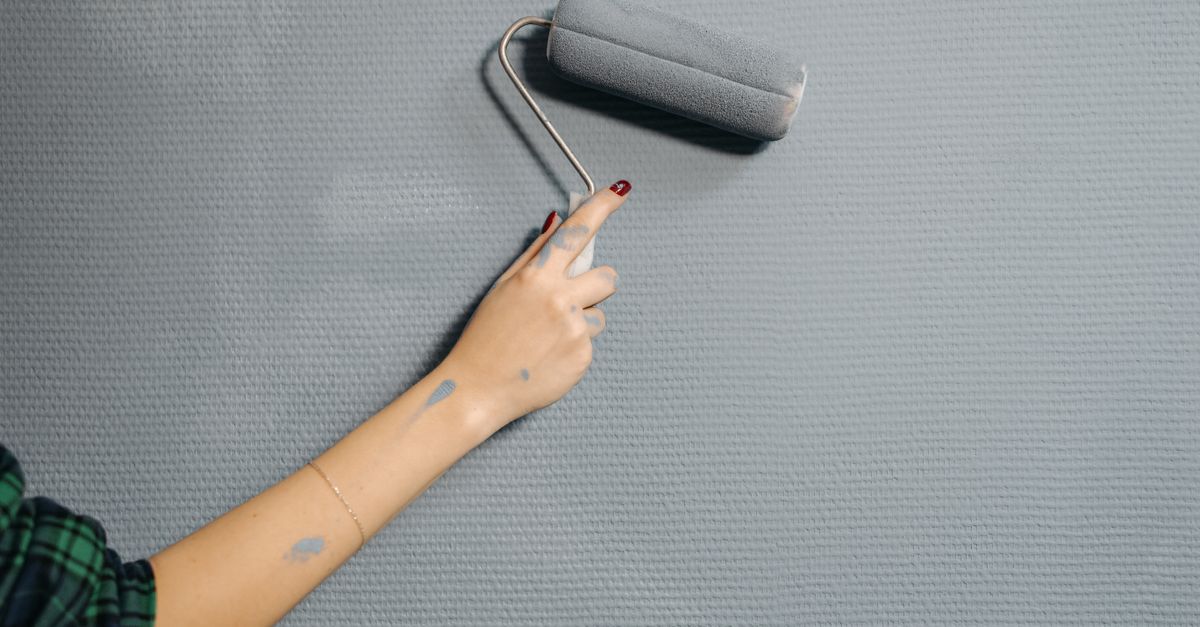
- Rolled walls: Use a small foam roller (4-inch works well) rather than a brush. The nap compresses the paint into a stippled texture that mimics the original rolled surface. Apply lightly, with a feathering motion at the edges.
- Sprayed walls: A foam roller gives a closer match than a brush, though professional spray touch-ups are always more seamless. A light dabbing motion with a damp sea sponge can also approximate some spray textures.
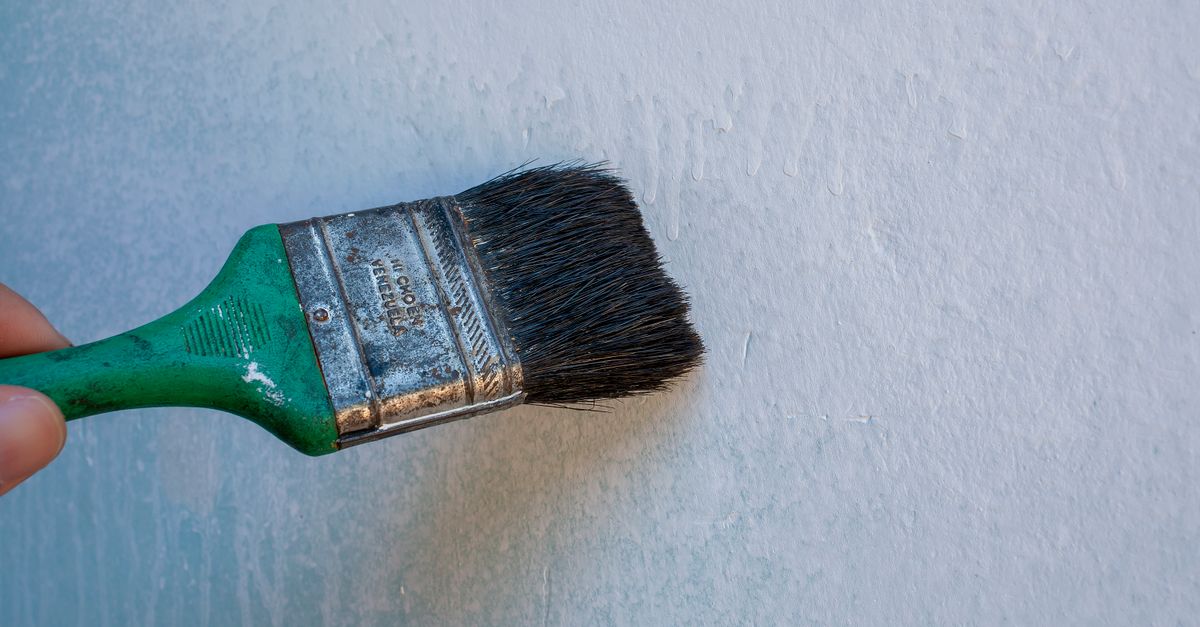
- Brushed walls (trim-style): A small angled brush applied with long, even strokes matches the original brush direction.
5. Feather the Edges
Instead of painting an obvious circle or square, extend the paint about 2–3 inches beyond the repair area in all directions, gradually reducing pressure so the edge blends rather than stops abruptly. The goal is a gradient, not a border.
6. Apply Multiple Thin Coats
One thick coat is more visible (sheen differences, brush marks) than two or three thin ones. Let each coat dry to the touch before adding another. Evaluate the match only after the final coat has dried fully — at least a few hours in normal conditions, longer in humid rooms.
Sheen and Texture: The Two Hardest Variables
Matching Sheen
Paint sheen is measured roughly as flat, matte, eggshell, satin, semi-gloss, and gloss. If your leftover paint came from the same batch, the sheen is already correct. But if you’re mixing a color match at a store, confirm the sheen level before leaving the counter — getting the color right in the wrong finish is a common mistake.
On walls with naturally low sheen (flat or matte), a touch-up blends more forgivingly because flat paint scatters light uniformly. Semi-gloss and satin walls are far more demanding: even a slight sheen mismatch is obvious under side lighting.
Dealing with Textured Walls
Light knockdown, orange peel, and sand-finish textures each require their own approach:
- Orange peel: Load a small foam roller lightly and apply with a dabbing (not rolling) motion. The compressed foam creates a texture close to the original spray.
- Knockdown: Apply joint compound with a wide knife, let it begin to set, then lightly drag or “knock down” the surface. Practice on cardboard first.
- Sand finish: Mix fine silica sand into the finish paint (products like sand-texture additives are available at most paint retailers) or use a pre-mixed sand finish paint.
Matching factory-applied textures on smooth drywall is genuinely difficult; results vary. For large areas, professional texturing will consistently outperform DIY attempts.
Common Mistakes to Avoid
- Painting in poor light. Always evaluate touch-ups in the same lighting conditions the room normally has — daylight, evening lamp, or both. A patch that disappears in daylight may glow under warm incandescent light.
- Overloading the brush or roller. Too much paint creates drips and an uneven sheen patch. Less is more.
- Skipping the drying test. Paint looks quite different wet versus dry. Never judge a match while the paint is still wet.
- Using old, degraded paint. If the paint has been repeatedly frozen and thawed or stored for many years in poor conditions, it may apply stringy or lumpy. Do a paper test first; discard it if the texture is off.
If your touch-up still leaves the room feeling patchy and dim, How to Make a Small Room Look Bigger: Light, Color, And Tone Tricks offers tricks for using color and light to make the whole space read better.
When to Just Repaint the Wall
Some situations tilt decisively toward repainting rather than touching up:
- More than a third of the wall surface has damage or staining
- You can’t find the original color and a close match isn’t close enough
- The existing paint is peeling, chalking, or failing — touch-ups won’t adhere reliably
- The wall has heavy sheen (semi-gloss) and extensive repairs across multiple areas
In these cases, repainting one complete wall — floor to ceiling, corner to corner — is far faster and looks far better than dozens of visible patches.
Frequently Asked Questions
Can I touch up paint that’s several years old?
Yes, but aged paint fades and oxidizes, so even the original color may not match what’s on the wall. Test the color on white paper, compare when dry, and consider knocking back the brightness slightly with a small amount of dark universal tint. Feathering the edges also helps hide any remaining gap.
Do I always need primer for a touch-up?
Not on every surface. If the wall is fully coated — no bare compound or spackle showing — and the paint is in good condition, you can sometimes skip primer and go straight to the finish coat. But over any bare or porous material, primer is non-negotiable if you want an even result.
Why does my touch-up look shiny compared to the rest of the wall?
The most common cause is sheen mismatch — either the replacement paint has a higher sheen, or fresh paint on a porous surface (unsanded compound) appears glossier than the surrounding aged coat. Sand the area lightly after priming, and confirm that your replacement paint’s sheen matches the original.
How soon can I wash a touch-up area?
Most latex wall paints reach a washable cure level in about two to four weeks, though this varies by product and environment. Scrubbing an area too soon removes the surface and reopens the repair. For the first few weeks, clean very gently with a barely damp cloth.
What’s the smallest area worth touching up versus repainting?
A single small hole or scuff (under an inch across) is always worth a touch-up attempt. A cluster of repairs spread across a wall section 3 feet wide or more rarely looks right after touch-ups — the accumulated visible patches usually make repainting the wall the better outcome.