Replace a Shower Head Yourself: What Actually Works
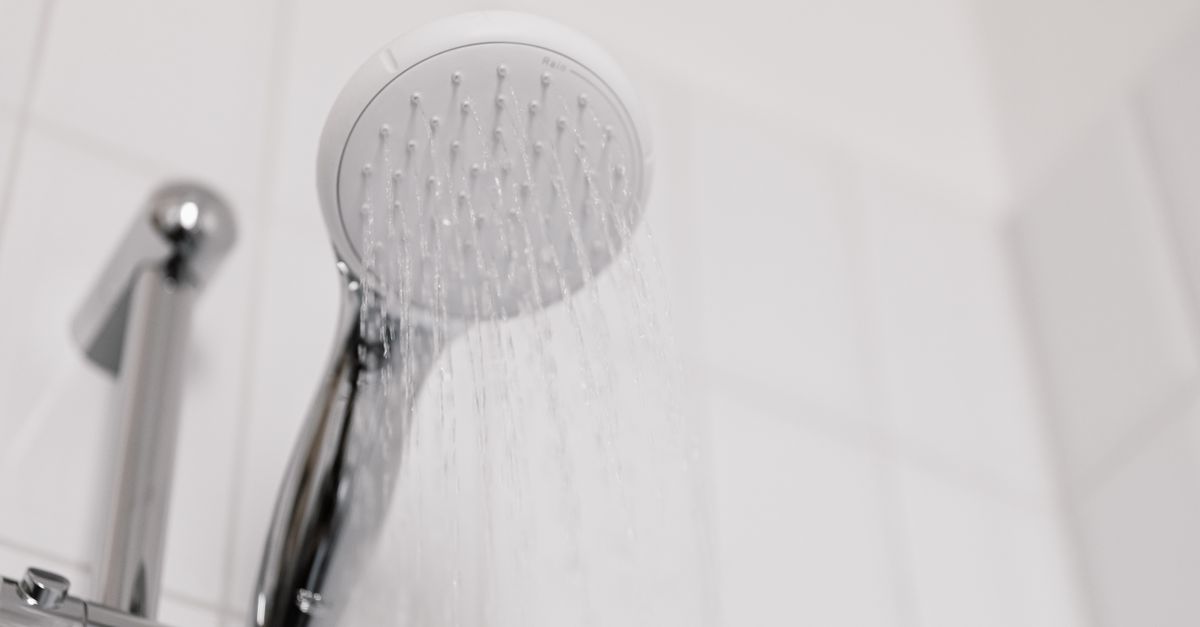
Replacing a shower head is one of the most satisfying plumbing jobs a homeowner can do — no licenses, no special tools, and the whole thing typically takes under 20 minutes. The catch is that it goes wrong just often enough (stripped threads, hidden corrosion, that stubborn ancient fixture that simply will not move) that a little prep makes a real difference.
This guide covers the full process: what to buy, how to remove a head that feels welded on, how to seal the threads correctly, and what to do if things get complicated.

What You Need Before You Start
Gather everything first. Mid-job trips to the hardware store are where projects stall.
Tools and materials:
- Adjustable wrench or slip-joint pliers
- Teflon tape (also sold as PTFE tape or plumber’s tape — grab the standard white variety)
- A small rag or soft cloth (to protect chrome finishes)
- Penetrating oil like WD-40 or PB Blaster (optional, but keep it nearby)
- Replacement shower head of your choice
What you do NOT need:
- Pipe dope or thread sealant compound — Teflon tape is the right choice for plastic-to-metal or metal-to-metal shower connections
- A pipe wrench — it generates too much torque and can snap the shower arm right at the wall
- A plumber (for a standard residential swap)
Choosing the Right Replacement
Before buying, check two things: the thread size and the arm shape. Nearly all residential shower arms in North America use ½-inch NPT (National Pipe Taper) threads, so compatibility is rarely the issue. The issue is more often physical clearance — a large rain-shower head needs a ceiling-mounted or extended arm, and a fixed wall head may not pair well with a curved arm designed for a handshake angle.
If water pressure or mineral buildup has been a problem, look for heads with silicone nozzles (you can rub off limescale with a finger) and check the GPM (gallons per minute) rating. WaterSense-certified fixtures use 2.0 GPM or less; older heads can run 2.5 GPM or higher. A lower-GPM head rarely feels weak with decent incoming pressure — spray pattern matters more than raw volume.
Removing the Old Shower Head
Step 1: Turn off the water. You do not need to shut off supply to the whole house — just close the shower valve. That said, if the shower control is suspect or you are working on the pipe behind the wall, shutting off the main is the safer call.
Step 2: Protect the finish. Wrap the shower arm with a cloth before gripping it with your wrench or pliers. Chrome and brushed-nickel finishes scratch easily, and a damaged arm is harder to sell to a landlord or the next buyer.
Step 3: Grip and turn counter-clockwise. Hold the shower arm steady with one hand (or a second wrench) so you are not torquing the pipe inside the wall. Apply steady, deliberate pressure — not sudden jerks. Most heads loosen within a few seconds.
When it will not budge: This is the part most guides skip. If the head has been there for years, mineral deposits can effectively cement threads together. Apply penetrating oil around the connection, wait 10–15 minutes, then try again. Repeat once or twice if needed. Do not simply wrench harder; you risk snapping the arm at the elbow joint inside the wall, which turns a 20-minute job into a drywall repair.
What if the arm itself spins? If both the head and arm rotate together, the arm’s internal fitting — a galvanized stub inside the wall — has also loosened. Stop, grip the arm firmly with a second wrench close to the wall, and hold it stationary while you unscrew the head. If the arm itself needs replacing, that is a separate (but still DIY-friendly) job: unscrew the entire arm counter-clockwise from the wall fitting, wrap the male threads on the new arm with Teflon tape, and screw it in.
Installing the New Shower Head
Step 1: Clean the threads on the shower arm. Use an old toothbrush or a rag to remove old tape, gunk, or mineral scale. Clean threads seal better and reduce the chance of cross-threading.
Step 2: Apply Teflon tape. Hold the arm so the male threads face you. Wrap the tape clockwise (when viewed from the front of the threads — the same direction you will tighten the fitting). Use 2–3 full wraps, keeping the tape taut so it seats into the threads rather than bunching. Tear off the tape and press the end flat against the threads.
One common error: wrapping in the wrong direction. If you wrap counter-clockwise, tightening the fitting simply unwinds and bunches the tape, and you get a slow drip that only appears under water pressure.
Step 3: Hand-thread the new head first. Start the connection by hand to avoid cross-threading. If you feel resistance right away, stop — something is misaligned. Forcing it strips threads.
Step 4: Tighten with a wrench — just enough. Once hand-tight, add roughly half a turn with the wrench. You are aiming for a snug seal, not maximum torque. Over-tightening cracks plastic fittings and makes the next removal unnecessarily hard.
Step 5: Turn the water on and check for leaks. Run the shower for 30 seconds and inspect the connection at the arm. A properly taped joint should be completely dry. If you see a drip, turn off the water, remove the head, add one more wrap of Teflon tape, and reinstall.
Specific Scenarios Worth Knowing
Switching from a Fixed to a Handheld Head
A handheld unit uses an intermediate bracket that screws onto the shower arm, and the hose attaches to the bracket. The process is identical — Teflon tape on both the arm-to-bracket connection and the bracket-to-hose connection. Make sure the hose is rated for your water pressure; cheap hoses burst or leak at the collar under sustained pressure.
Installing a Filter Shower Head
Filtered heads (which claim to reduce chlorine, chloramines, or hard-water minerals) install exactly like a standard head. The filter cartridge sits inside the housing and typically needs replacement every three to six months depending on your water quality and usage — check the manufacturer’s spec rather than assuming a schedule.
Cutting water waste doesn’t stop at the shower head, so check out How to Make Your Home More Energy Efficient: Seal, Insulate, Save for more ways to trim utility bills around the house.
Dealing with a Corroded or Damaged Shower Arm
If the arm shows surface rust, pitting, or the threads are visibly damaged, replace the arm too. A compromised arm will drip regardless of how carefully you tape it. Replacement arms cost a few dollars at any hardware store and take about five minutes to swap.
If corrosion around the shower arm has spread to the pipe fittings behind the wall, our guide How to Troubleshoot Common Plumbing Leaks Yourself can help you figure out whether you’re dealing with a bigger problem.
Ball-Joint and Pivot Shower Heads
Some modern shower heads use a ball-and-socket joint at the connection point, allowing you to swivel the spray direction. These install the same way but have a rubber gasket inside the ball joint. Do not tape over the ball itself — apply Teflon tape to the arm threads only, and make sure the rubber gasket is seated before tightening.
Common Mistakes and How to Avoid Them
- Skipping the cloth: A raw wrench jaw scratches chrome finishes in seconds.
- One wrap of Teflon tape: Insufficient coverage leads to weeping joints. Two to three firm wraps is the standard.
- Ignoring the shower arm: If the arm spins freely or wobbles, address it before attaching the new head.
- Over-tightening plastic fittings: Hand-tight plus half a turn is almost always enough. Cracked plastic means buying the same shower head again.
- Not testing before walking away: Always run the shower for at least a minute and check the joint while it is running, not after you have dried up and left the room.
Frequently Asked Questions
Do I need to turn off the water to the whole house?
No — closing the shower valve is sufficient for a standard head swap. Only shut off the main if the shower valve itself is faulty or you plan to work on supply piping.
What if my new shower head drips from the connection after installation?
The most common cause is too little Teflon tape or tape wrapped in the wrong direction. Remove the head, clean the threads, and rewrap with 2–3 clockwise wraps of tape before reinstalling.
Can I use thread sealant (pipe dope) instead of Teflon tape?
You can, and it will work — but Teflon tape is cleaner, easier to remove at the next replacement, and less messy. Pipe dope is better suited to larger diameter or high-pressure industrial connections.
How do I know if my shower arm threads are stripped?
Stripped threads feel gritty or uneven as you thread the fitting by hand, or the connection simply will not tighten no matter how much you turn it. A visibly damaged arm needs to be replaced before any new head will seal properly.
Will a new shower head actually improve water pressure?
Not directly — pressure is set by your supply line and regulator. However, a head with limescale-clogged nozzles can restrict flow noticeably. A clean head with a tighter spray pattern can feel more powerful even at the same pressure. If low pressure is a persistent problem across the whole house, the pressure-reducing valve (PRV) near the meter is the place to look.
The job really is straightforward when you know what to watch for. Teflon tape applied correctly, steady (not brutal) wrench pressure, and a close look at the arm before you start will get you through almost every residential scenario without drama.