Rested Batter and a Hot Pan Keep Crepes From Tearing
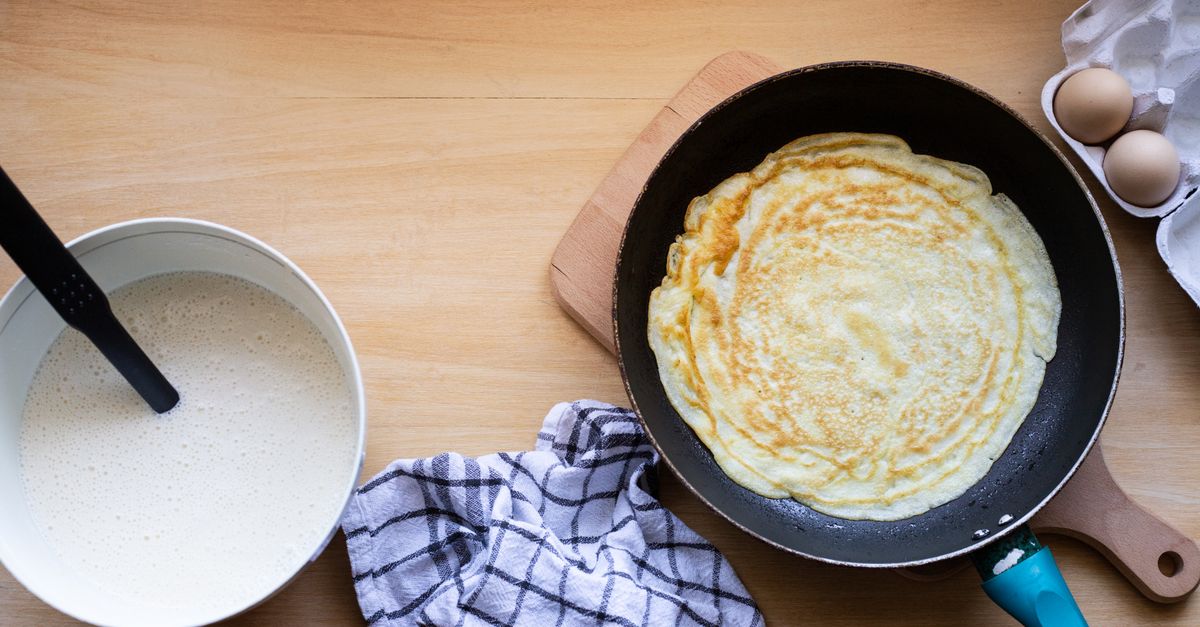
Making crepes that hold together isn’t a mystery — it comes down to a handful of physical realities: batter consistency, pan temperature, fat distribution, and timing. Get those right and tearing becomes rare rather than routine.
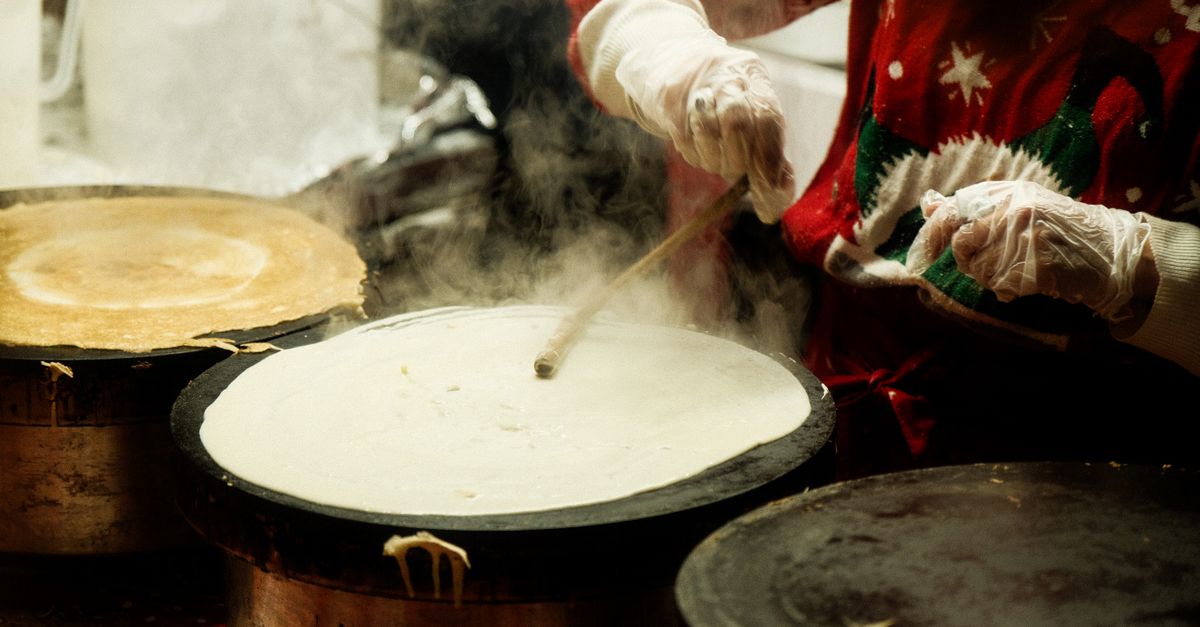
Why Crepes Tear in the First Place
A crepe tears when the batter hasn’t bonded into a continuous film before you try to move it. The most common culprits are a batter that is too thick or too thin, a pan that is too cold (so the batter slides rather than sets), or flipping before the surface has fully dried. Sometimes gluten is the issue in the opposite direction: batter mixed just before cooking has tight, springy gluten strands that resist spreading, so the crepe sets unevenly and cracks when folded.
Understanding the failure mode tells you exactly where to intervene.
The Batter: Consistency, Order, and Rest
The ideal crepe batter is close to heavy cream in viscosity — pourable and smooth, but not watery. It should coat the back of a spoon very lightly and fall off in a thin, even sheet. If it drips off in thin streams immediately, it is too thin. If it clings thickly, it needs more liquid.
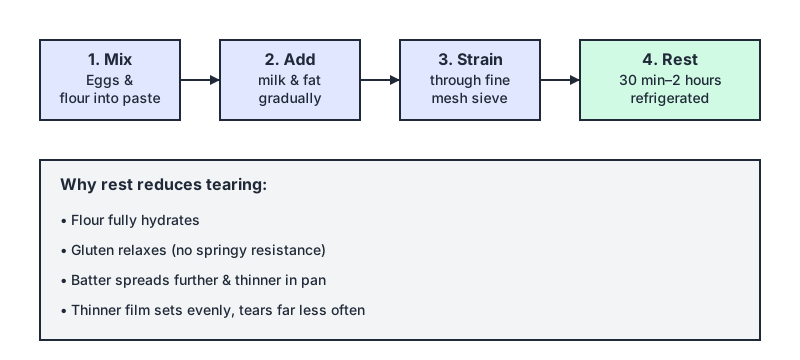
Mix order matters. Whisk eggs and flour together first into a thick paste before adding milk. This way the flour absorbs liquid gradually rather than clumping, which means far fewer lumps. Some cooks add butter at this stage; others add it after straining.
Rest the batter. After mixing, cover and refrigerate for at least 30 minutes — an hour is better, two hours is fine. Resting lets the flour fully hydrate and lets the gluten relax. Rested batter spreads further and thinner in the pan, which translates directly into fewer tears. Skipping this step is the single most common reason a first-crepe attempt goes wrong.
Strain it. Push the batter through a fine-mesh sieve before you cook. This removes any lumps that survived mixing. A lump in the batter creates a thick spot that sets slower than the rest, and that thick spot becomes a weak point when you flip.
Fat in the batter helps. Melted butter or a neutral oil added to the batter lubricates the protein network. It also reduces sticking without requiring you to re-butter the pan for every single crepe. A typical ratio is one to two tablespoons of melted butter per cup of flour — but exact amounts vary by recipe and are not a fixed rule.
If you also struggle with batter mishaps in other breakfast staples, Fluffy Pancakes from Scratch: Why Batter Falls Flat explains a related set of common mistakes.
The Pan: Temperature and Surface
Crepe pans — low-sided, flat, around 20–24 cm for a standard portion — exist for good reasons. The low rim makes flipping easier. A heavy-bottomed steel or well-seasoned cast iron pan holds heat evenly, which prevents hot spots that cook one area before another has set.
Nonstick pans work perfectly well and are forgiving for beginners. Their trade-off is that they cannot tolerate very high heat without degrading the coating, so you need to manage temperature carefully.
The pan must be properly hot before you pour. Set it over medium to medium-high heat for two to three minutes before the first crepe. Test with a tiny drop of batter: it should sizzle and set within a second or two. If it takes longer, wait. If it burns immediately, reduce the heat slightly.
Grease lightly and often. Wipe a small amount of butter into the pan with a folded paper towel, or use a pastry brush with clarified butter or oil. The goal is a microscopically thin film, not a pooling layer. Too much fat makes the batter slide to the edges before it can set in the middle — another tear trigger.
Re-grease every crepe or every second one, depending on how well the pan holds fat. A well-seasoned steel pan may need less frequent greasing than a dry stainless one.
The same principles of heat control and fat distribution that keep delicate fish fillets intact are explored in How to Cook Fish Without It Sticking to the Pan: Heat, Fat, Patience.
Spreading, Flipping, and Timing
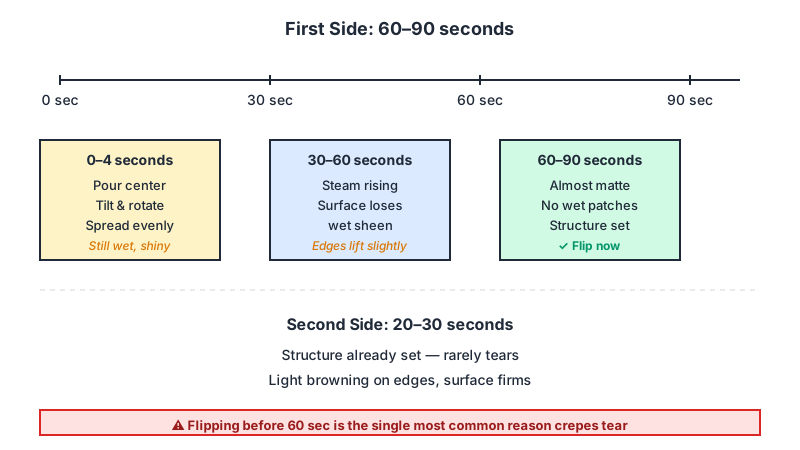
Pour in just enough batter to cover the bottom — usually two to four tablespoons for a 24 cm pan, but the right amount depends on your pan size and how thin you want the crepe. Pour into the center, then tilt and rotate the pan immediately in a circular motion so the batter spreads before it sets. You have about three to four seconds to do this. Move fast.
If you have a wooden crepe spreader (a T-shaped tool called a rozell or rateau), you can hold the pan flat and spread from the center outward. This takes practice but gives more control and more even thickness.
Do not flip too early. Watch the edges: they will lift slightly from the pan and the surface will lose its wet sheen as the steam works its way out. The top surface should look almost completely matte, with no wet patches remaining. This takes roughly 60 to 90 seconds on the first side, depending on your heat level. Flipping before this point is the single most reliable way to tear a crepe.
Use a thin, flexible spatula. Slide it under the crepe from the edge — the edge is where it releases first — and flip in one confident motion. Hesitation makes things worse. You can also flip by hand if you are comfortable: slide your fingers under the lifted edge and flip quickly. The second side cooks in about 20 to 30 seconds and rarely tears because the structure is already set.
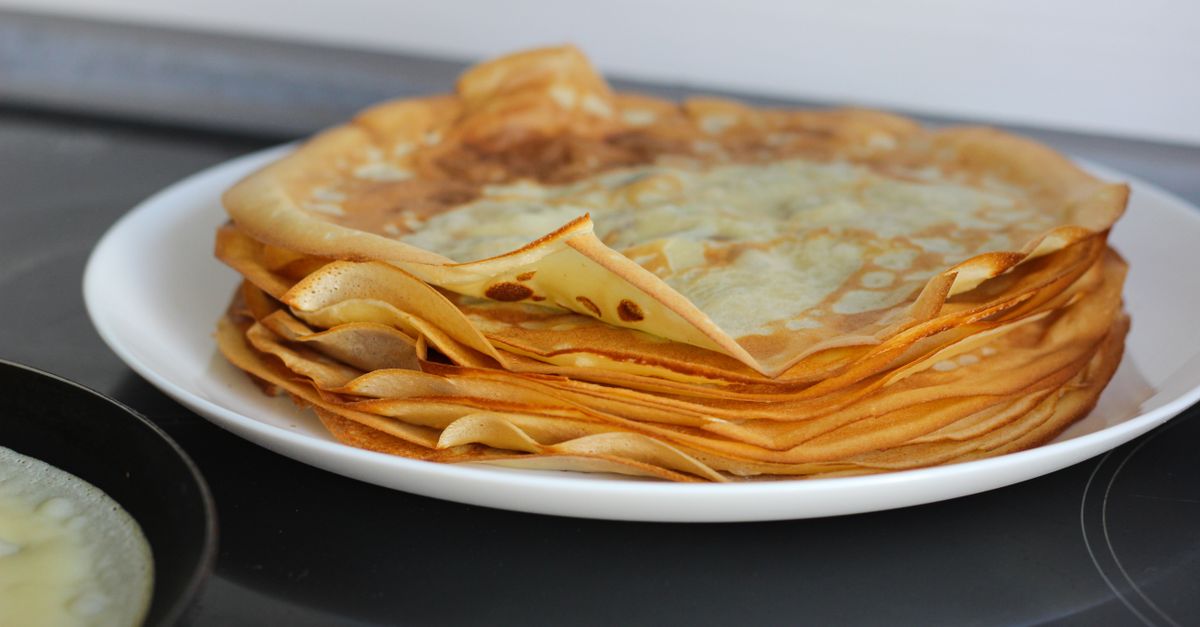
Stack finished crepes on a plate as you go. They stay warm and pliable stacked together, and the steam from the bottom layers actually makes them more flexible and easier to roll or fold.
The First Crepe Is Usually a Sacrifice
Every experienced crepe cook knows: the first crepe is for calibration, not the table. It shows you whether the batter needs thinning, whether the pan is at the right temperature, and whether your greasing is correct. It almost always tears or comes out uneven. Eat it in the kitchen, adjust, and move on. The second crepe onwards is where things come together.
Material and Mix Variations
Wheat flour is the standard, but crepe batter can be made with different flours — each with its own behaviour.
| Flour type | Gluten/structure | Spreading behaviour | Common use |
|---|---|---|---|
| Plain wheat (all-purpose) | Medium | Spreads easily, forgiving | Sweet and savoury |
| Buckwheat (sarrasin) | Gluten-free | Stiffer, tears more readily | Savoury galettes |
| Chestnut flour | Gluten-free | Fragile, needs egg adjustment | Dessert crepes |
| Oat flour | Minimal | Soft, slightly grainy | Health-focused |
Gluten-free batters are inherently more fragile because there are no gluten strands to hold the film together. For buckwheat galettes — the Breton tradition — cooks compensate by using a higher proportion of eggs, a longer rest, and a lower, steadier heat. Adding a tablespoon or two of plain wheat flour to a buckwheat batter improves structural integrity noticeably if purity is not the goal.
When to Adjust on the Fly
If crepes keep tearing mid-pan, run through this checklist before giving up:
- Edges tear but center holds: batter is probably too thick; add a tablespoon of milk, stir, and retry.
- Crepe slides around and folds on itself: too much fat in the pan; wipe out the excess.
- Center tears on flip: flipped too early or heat is uneven; wait a few more seconds next time and check for hot spots.
- Batter sticks completely: pan is not hot enough, or it needs more fat; increase heat and re-grease.
- Crepes come out rubbery: too much flour or overmixed; thin the batter slightly and check the recipe proportions.
One or two adjustments usually solve the problem. The batter itself is forgiving once you understand what it is telling you.
Frequently Asked Questions
Does crepe batter need eggs?
Eggs are a structural ingredient: the proteins they contribute help the crepe set into a continuous film rather than a crumbly sheet. Vegan crepe recipes substitute eggs with alternatives like flaxseed gel or aquafaba, but those batters are generally more fragile and require extra care with heat and flipping timing.
Can crepe batter be made the night before?
Yes, and it often works better that way. Covered batter keeps in the refrigerator for up to 24 hours. Give it a good stir before use since flour and liquid can separate slightly. The extended rest only improves gluten relaxation and hydration.
Why does the batter form lumps even after straining?
Lumps after straining usually mean the flour was added to cold or warm liquid too fast. Start the batter by mixing flour and eggs into a paste before any liquid is added. If lumps persist, blend the batter briefly with an immersion blender and then strain again.
What heat setting is correct for crepes?
Medium to medium-high is the usual range, but the right setting depends on your stove and pan. A heavy steel pan on a gas stove holds heat differently than a thin nonstick on an electric coil. Calibrate with the first crepe: if the batter takes more than three seconds to begin setting, increase heat. If the edges brown before the surface dries, reduce it.
Is a special crepe pan necessary?
Not essential. A low-sided or even a standard nonstick frying pan works. The crepe pan’s low rim is a convenience for flipping, not a requirement. What matters more is that the pan is the right size for your batter portion, heavy enough to hold even heat, and properly preheated.