Can You Make Oat Milk at Home?
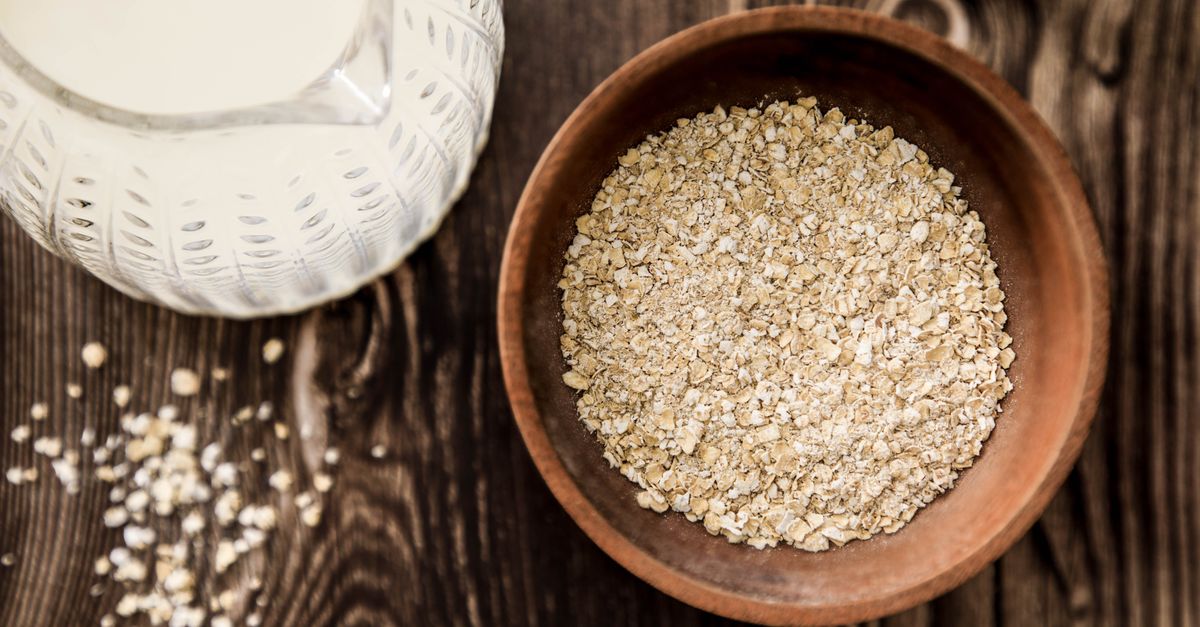
Oat milk made at home takes about five minutes, costs a fraction of the carton price, and uses ingredients you likely already have. The process is simpler than most people expect, and once you understand what makes it go wrong (sliminess, chalkiness, a flavor you can’t place), you’ll nail it reliably.
What You Actually Need
The ingredient list is short: rolled oats, cold water, and a pinch of salt. That’s it for a neutral, drinkable milk. Everything else — a sweetener, vanilla, a Medjool date — is optional and adjustable.
Oats: Use old-fashioned rolled oats, not steel-cut and not instant. Steel-cut oats don’t blend smooth enough without prolonged processing, and instant oats tend to produce a gluey result because they’re already partially cooked. Rolled oats hit the sweet spot.
Water: Cold water is not negotiable if you want non-slimy oat milk. Warm or hot water activates the starches in oats aggressively, turning the whole batch into a thick, viscous paste that no amount of straining will fix.
Equipment: A high-speed blender gives the cleanest result, but a standard countertop blender works if you blend in short pulses rather than a long continuous run (heat from prolonged blending also activates starch). You’ll also need a fine-mesh nut milk bag, a clean piece of muslin, or — in a pinch — two layers of cheesecloth over a colander.
The Method That Actually Works
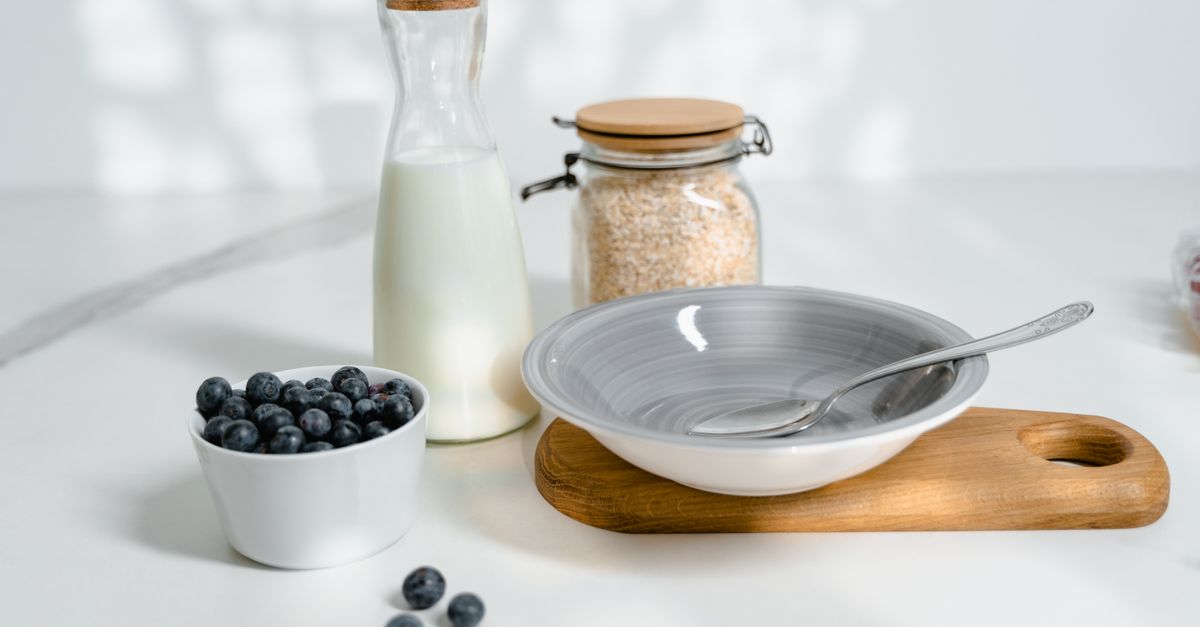
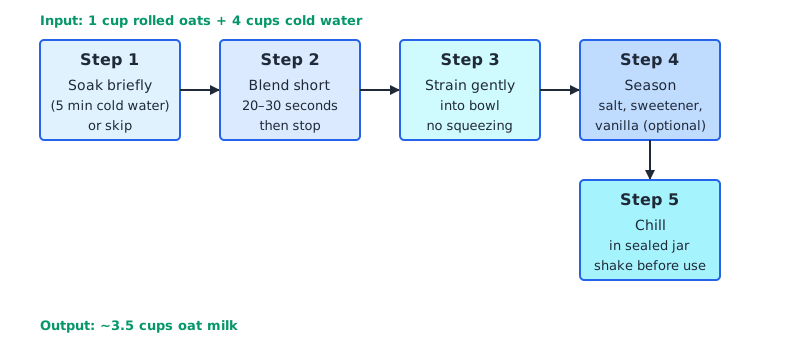
Measure roughly one part oats to four parts cold water. A common starting point is 1 cup of oats to 4 cups of water, which yields about 3.5 cups of finished milk. Adjust the ratio to taste: less water makes it creamier and more filling; more water makes it lighter and closer to skimmed dairy milk.
Step 1: Soak briefly, or don’t. A 5-minute soak in cold water softens the oats enough for smooth blending. Longer soaking (30 minutes or overnight) does NOT improve the result — it increases starch release and makes sliminess more likely. If you’re in a hurry, you can skip the soak entirely and blend from dry.
Step 2: Blend short. Pour the soaked (or dry) oats and cold water into the blender. Blend for 20–30 seconds. Stop. Do not run the blender for two minutes trying to get it smoother — you will cook the starches with friction heat and get slime.
Step 3: Strain immediately. Pour the blended mixture through your nut milk bag or muslin into a bowl or pitcher. Let it drain under gravity; do not squeeze the bag hard. Squeezing forces fine oat particles and starch through the mesh, making the milk thick and slimy. Gentle pressure to get the last drips is fine.
Step 4: Season. Add a small pinch of salt (it rounds the flavor noticeably), a drizzle of maple syrup or a pitted date if you want sweetness, and half a teaspoon of vanilla extract if you like. Blend these into the strained milk briefly, or just shake well in the jar.
Step 5: Chill. Transfer to a sealed jar or bottle and refrigerate. Homemade oat milk separates on standing — that’s normal. Shake before each use.
Why Does Homemade Oat Milk Turn Slimy?
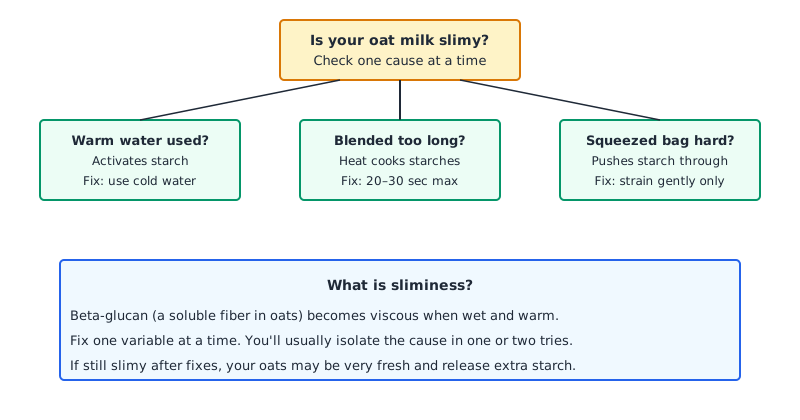
Sliminess is the single most common complaint, and it almost always comes down to starch activation. Oats are high in beta-glucan, a soluble fiber that becomes viscous when it’s wet and warm. Three things trigger it in home batches:
- Warm or room-temperature water: use cold water straight from the tap or the fridge.
- Over-blending: friction generates heat; 20–30 seconds is enough.
- Squeezing the nut milk bag hard: pushes starch-rich pulp through the fabric.
If your first batch was slimy, fix one variable at a time and you’ll usually isolate the cause in one or two tries.
Troubleshooting Other Common Problems
Too chalky or thin: The oat-to-water ratio may be too high on water, or the blending time too short to break down the oats fully. Try a 1:3 ratio instead of 1:4, or blend for a full 30 seconds rather than 15.
Bitter or grassy flavor: Often caused by the oats themselves oxidizing in storage. Use fresh rolled oats, and rinse them briefly in cold water before blending if this is a recurring issue.
Foams excessively in coffee: Homemade oat milk doesn’t have the stabilizers and oils that commercial oat milks use to prevent curdling and foaming in hot drinks. Adding half a teaspoon of neutral oil (sunflower or light olive oil) to the finished milk before shaking helps emulsify it and reduces the foaming. Some people add a tiny pinch of xanthan gum (about 1/8 teaspoon per batch), though results vary a lot depending on the coffee temperature and pour speed.
Short shelf life: Without preservatives, homemade oat milk keeps for about 4–5 days in the refrigerator in a clean, sealed container. It doesn’t freeze well (the texture separates more dramatically on thawing and doesn’t fully recombine). Make small batches you’ll use within the week.
Variations Worth Trying
Chocolate oat milk: Add 1–2 tablespoons of unsweetened cocoa powder and a tablespoon of maple syrup per batch. Blend with the finished milk.
Vanilla oat milk for cereal: 1 teaspoon vanilla extract, 2 teaspoons maple syrup, pinch of salt. Clean, versatile, and tastes noticeably better on oats or granola than the plain version.
Barista-style oat milk: Blend in 1 teaspoon of neutral oil and a small pinch of xanthan gum after straining. Chill well before using. It won’t perfectly match commercial barista formulas, which are engineered with specific emulsifiers and proteins, but it’s much closer to foaming nicely in a latte than standard homemade.
Fortified oat milk: Commercial oat milks are typically fortified with calcium, vitamins D and B12, and other nutrients — homemade versions are not, which matters if oat milk is a primary dairy substitute in your diet. You can add a liquid vitamin D and calcium supplement to your batch, but check the dosage on the supplement packaging rather than guessing at an amount.

Making your own oat milk also cuts down on packaging waste, a habit covered more broadly in Easy Ways to Reduce Plastic at Home: 30 Practical Swaps.
Storing the Oat Pulp
The leftover pulp from straining (called oat okara in some traditions) isn’t waste. It’s essentially wet, lightly processed oat flour. Pat it out on a baking sheet and dry it in a low oven (around 150–170°F / 65–75°C) for an hour or so until it crumbles, then use it in oatmeal, pancake batter, or muffins. It adds fiber and a mild oat flavor without noticeably changing the texture of baked goods.
Instead of tossing it out, you can save the leftover oat fiber for your garden, and Beginner Guide to Composting at Home: Start Today explains how to turn kitchen scraps like this into nutrient-rich soil.
Frequently Asked Questions
Do I need to use gluten-free oats?
Regular rolled oats are naturally gluten-free but are commonly processed in facilities that also handle wheat, barley, or rye. If you have celiac disease or a serious wheat sensitivity, use oats labeled certified gluten-free. For everyone else, standard rolled oats are fine.
Can I use steel-cut or quick oats instead of rolled?
Quick oats tend to produce a slimy result because they’re pre-cooked and release starch very fast. Steel-cut oats don’t blend smooth enough in a standard blender and give a gritty, unpleasant texture. Rolled oats are the right choice for this method.
How long does homemade oat milk last?
In a clean, sealed glass jar in the refrigerator, most batches stay fresh for 4 to 5 days. Trust your nose: if it smells sour or off, discard it. The lack of preservatives means it won’t last as long as store-bought.
Is homemade oat milk as nutritious as store-bought?
Not quite, unless you fortify it. Commercial oat milks are usually enriched with calcium and vitamins D and B2 (riboflavin). The homemade version has the beta-glucan fiber and whatever carbohydrates survive into the liquid, but it lacks that added nutritional layer. For occasional use or as a cooking ingredient, that’s rarely a concern. As a daily dairy replacement, it’s worth being aware of.
Why does my oat milk look greyish instead of white?
Oats have a slightly tan-grey natural color. The milk should look off-white to creamy, not bright white like cow’s milk. If it looks very grey or murky, the oats may be stale or the blending was too long (which can also affect color). A very fine-mesh straining cloth improves the appearance noticeably.