How Do You Make Chili Oil at Home?
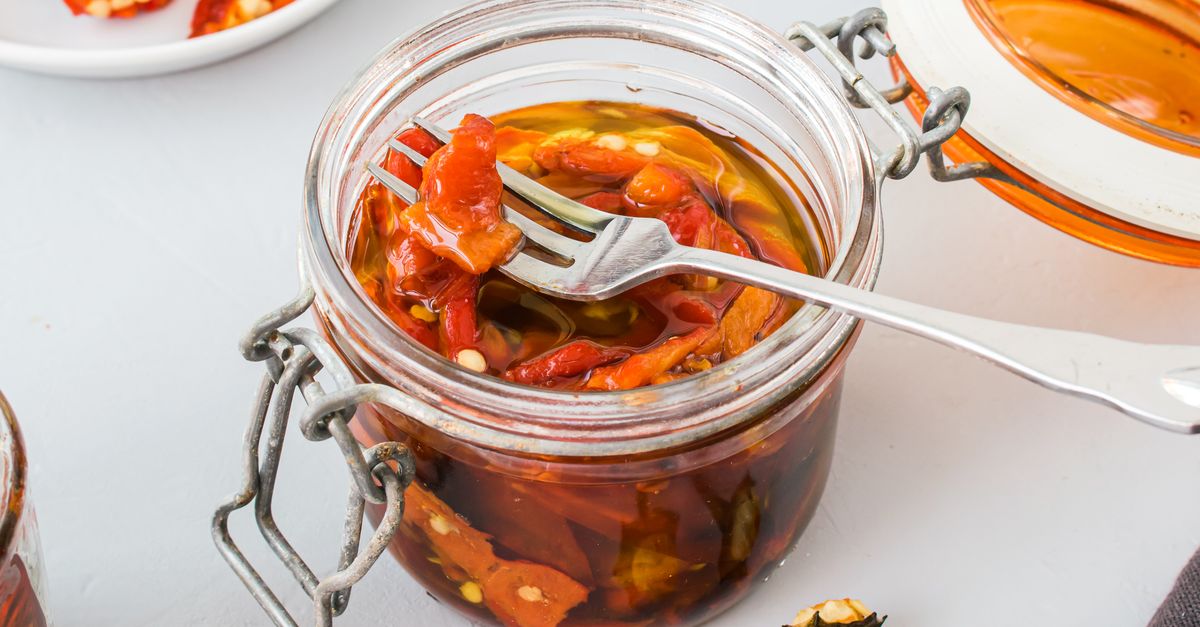
Chili oil sits at the intersection of heat, fragrance, and fat — and making it yourself gives you control that no store bottle can match. You choose the chili, the spice level, the aromatics, and how long to steep. The result keeps for weeks, costs very little, and tastes noticeably fresher than most commercial versions.
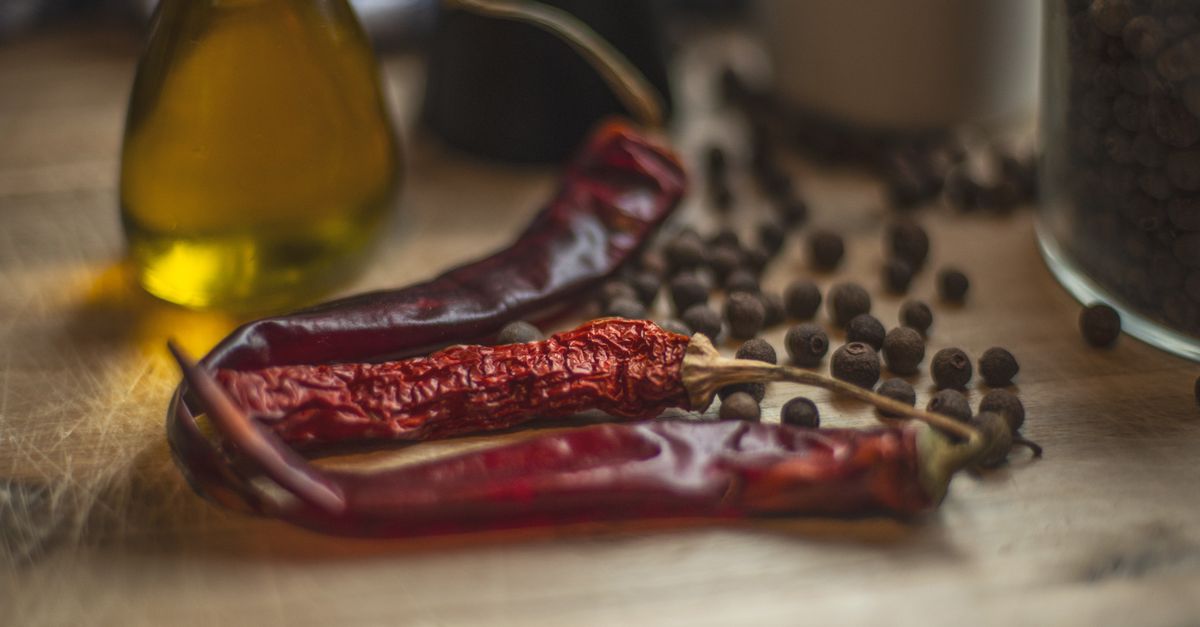
What You Actually Need Before You Start
Chili oil has two moving parts: the oil and the chili base. Getting both right matters more than any recipe detail.
The oil: Neutral oils with a high smoke point carry heat well without competing with the chilies. Untoasted sunflower, grapeseed, or refined peanut oil are common choices. Untoasted (light) sesame oil is sometimes blended in at the end for aroma but should not be your base — it burns easily and can turn acrid. Avoid extra-virgin olive oil; its strong flavor and lower smoke point work against you here.
The chili flakes: This is where most of the flavor comes from, so choose deliberately. Chinese Sichuan-style chili flakes (often labeled “coarse Korean or Chinese chili flakes”) give a bright red color, moderate heat, and a slightly fruity background note. Korean gochugaru is milder and sweeter. Aleppo pepper is fruity and lightly salty. Calabrian chili flakes are punchy and bold. You can blend two varieties — say, Sichuan flakes for color and heat plus a smaller amount of something smokier — to add depth.
Common aromatics: Garlic, ginger, shallot, Sichuan peppercorns, star anise, cinnamon stick, bay leaf, and whole cloves are all fair game. None are mandatory. The aromatics infuse into the oil as it heats, then get strained out (or left in, depending on style).
Other additions: A pinch of MSG or a small splash of soy sauce at the end rounds out savory depth. Toasted sesame seeds add texture. Sugar (just a small amount) can balance extreme heat.
The Core Method: Blooming Chili Flakes in Hot Oil
This is the standard approach used across Sichuan restaurants and home kitchens alike. The key is temperature: oil that is too cool under-extracts the chili; oil that is too hot scorches it, producing a bitter, dark result.
Step 1: Prepare your chili bowl. Place your chili flakes in a heatproof bowl — ceramic or stainless steel, not plastic. A standard starting ratio is roughly 1 cup (about 85 g) of chili flakes to 1.5 cups (360 ml) of oil, but you can adjust this freely toward more oil (milder, more pourable) or more chili (thicker, hotter). Add any dry spices like salt, sesame seeds, or MSG to the bowl now.
Step 2: Infuse aromatics into the oil. Pour the oil into a small saucepan. Add your whole aromatics — smashed garlic cloves, sliced ginger, halved shallots, Sichuan peppercorns, star anise, cinnamon stick. Heat over medium-low, watching carefully. The aromatics will bubble gently as moisture cooks off. After around 10 to 15 minutes, they will begin to turn golden. At that point, the oil has absorbed their flavor. Remove from heat and let it cool slightly.
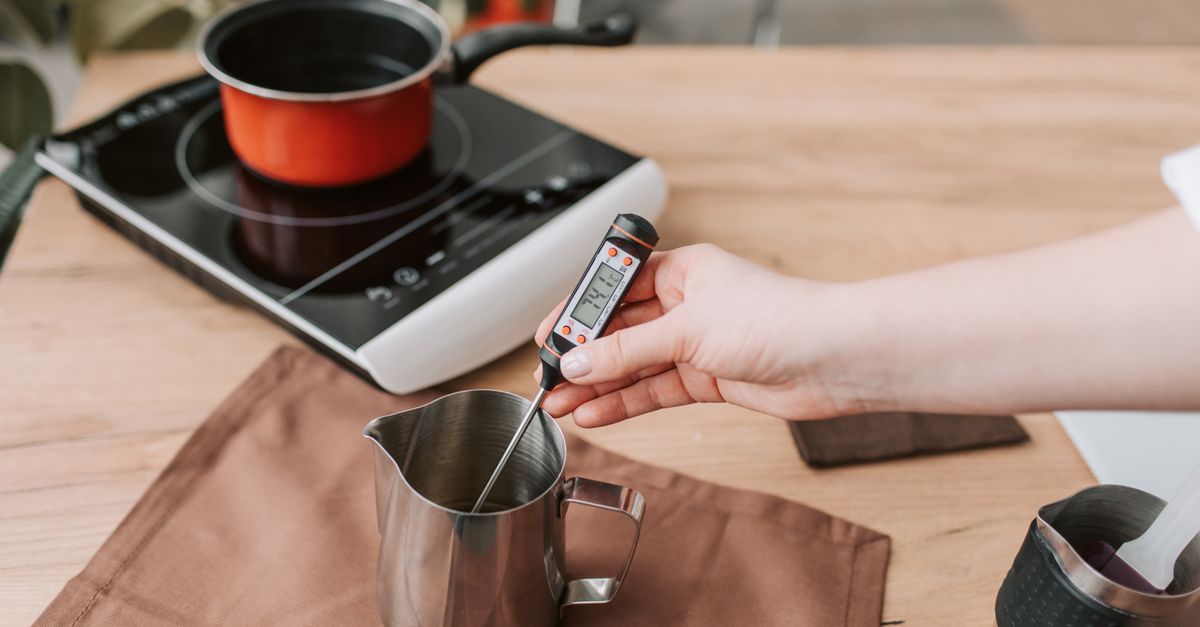
Step 3: Strain and check the temperature. Strain out the solids. Let the oil cool until a cooking thermometer reads somewhere between 120°C and 150°C (250°F to 300°F). This is the critical window. At the lower end the chili blooms slowly and gently, producing bright red color and moderate heat extraction. At the higher end you get a darker, more toasty character — still good, but easy to overshoot. If you do not have a thermometer, drop a small pinch of chili into the oil: a slow, steady sizzle with rising red color is correct. A violent spit or immediate browning means the oil is too hot — let it cool further.
Step 4: Pour the oil over the chili. Do this in two or three slow pours rather than all at once. This gives you control: you can see the color developing, hear the sizzle, and stop if the chili is browning too quickly. Stir gently after each pour.
Step 5: Cool completely, then transfer. Let the mixture sit at room temperature until fully cool. The color will deepen as it sits. Transfer to a clean, dry glass jar with a lid. The oil is technically usable immediately, but flavor improves noticeably after resting for 12 to 24 hours as the chili and spices continue to infuse.
Flavor Variations Worth Trying
Once you have the core method down, the variations are mostly about what goes into the bowl before the pour.
Sichuan mala style: Add a generous amount of Sichuan peppercorns to the infusion oil (they create the numbing “mala” sensation) and include a small amount of doubanjiang paste stirred in after the pour for fermented depth.
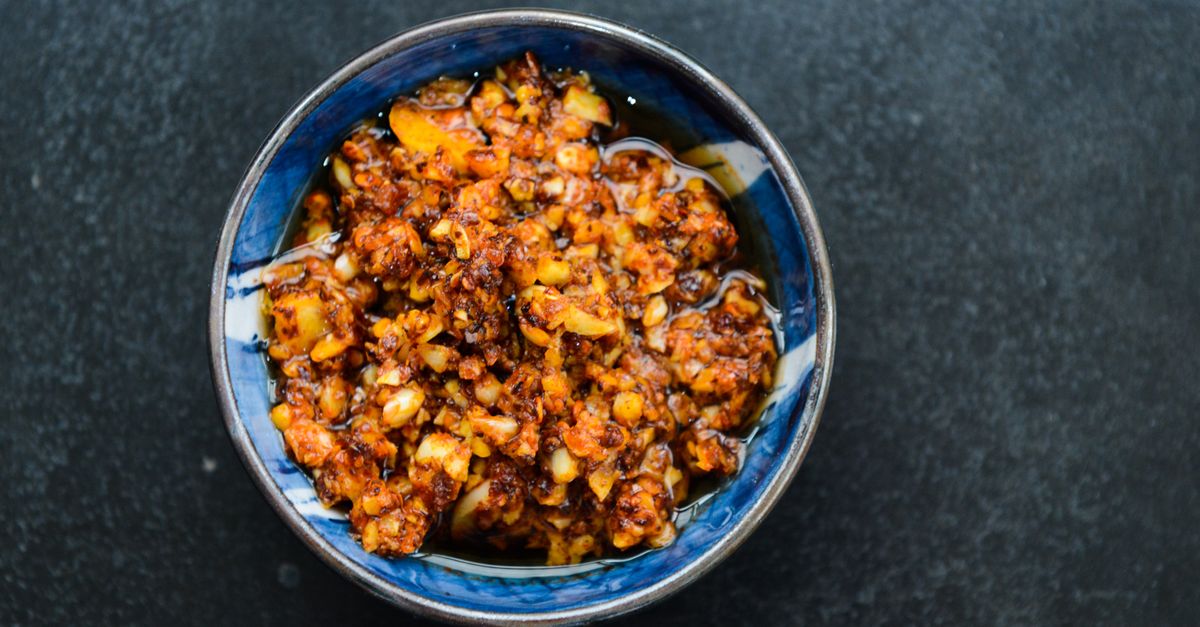
Garlic-forward crispy style: Instead of straining out the garlic, slice it thin and fry it separately until golden and crispy, then add it to the finished chili oil. The crispy bits are half the reason people keep eating this with a spoon.
Smoky version: Replace part of the chili flakes with ground chipotle or smoked paprika. The smoke character comes through clearly and pairs well with eggs, roasted vegetables, and grilled meats.
Herby/citrus finish: Add a strip of dried orange peel or lime zest to the infusion. A very small amount goes a long way — this lifts the oil and works especially well with seafood.
Extra-dark toasted style: Let the oil run slightly hotter (close to 165°C / 325°F) for a darker, nuttier result. Monitor closely; the margin between toasted and burnt is narrow at this temperature.
Storing and Using Your Chili Oil
A dry, clean jar is non-negotiable. Any water contamination — from a wet spoon, an unwashed jar, or fresh garlic with visible moisture — shortens shelf life and raises a real food-safety concern. This matters most with fresh aromatics: if you add fresh garlic or fresh herbs directly into the finished oil, store the oil in the refrigerator and use it within a week or two. Garlic-in-oil at room temperature creates conditions that can allow Clostridium botulinum to grow, which produces a dangerous toxin with no obvious smell or color change to warn you.
Oil made with only dried ingredients (dried chili flakes, dried whole spices) and no fresh aromatics left in the jar is lower risk. Stored in a cool, dark place in a sealed jar, it typically remains good for several weeks. Refrigerating it extends that window and is the safest default regardless.
As for using it: chili oil is broader than a condiment. A spoonful into scrambled eggs or a fried egg is the fastest thing you can do. Toss it with cold noodles, dress cucumbers, drizzle over hummus, stir into dumplings, or use it as the fat base for a vinaigrette. The sesame seeds and any crispy bits settle to the bottom — stir before each use.
If you enjoy preserving homemade condiments like this one, How to Dehydrate Fruits and Vegetables at Home shows another simple way to extend the shelf life of ingredients from your kitchen.
Why Temperature Is the One Thing You Cannot Skip
Every failure mode in chili oil traces back to temperature. Scorched chili flakes taste bitter and acrid and no amount of waiting improves them — if the batch smells burnt when you pour, start again. Under-heated oil produces a dull, wan result with pale color and weak flavor.
A cheap instant-read thermometer removes all the guesswork and pays for itself in a single batch. If you are committed to making this regularly, it is the one tool worth buying.
Getting oil temperature right is just as crucial when frying chicken, so our guide Crispy Fried Chicken at Home: The Stovetop Method offers a useful comparison for building that same intuition.
Frequently Asked Questions
Can I use fresh chilies instead of dried flakes?
You can, but the result is quite different and the storage risk is higher. Fresh chilies release moisture into the oil, which shortens its shelf life significantly and increases the risk of bacterial growth. For a fresh-chili infused oil, make a small batch, keep it refrigerated, and use it within a few days. Dried flakes are better suited to a longer-lived pantry jar.
My chili oil turned out bitter. What went wrong?
Bitter chili oil almost always means the oil was too hot when it hit the flakes, scorching them. The fix is to let the oil cool longer before the pour. Aim for the 120°C to 150°C (250°F to 300°F) range and confirm with a thermometer rather than guessing. Once the flakes are burnt, the batch cannot be rescued.
Does the type of chili change the heat level a lot?
Considerably. Gochugaru sits at the mild end, with fruity sweetness and moderate warmth. Standard Sichuan or Chinese chili flakes are medium-hot. Pure cayenne or bird’s-eye chili flakes are significantly hotter. Blending lets you tune heat without sacrificing volume or color. If you want deep red color with modest heat, gochugaru or a Sichuan/gochugaru blend is a reliable starting point.
How long will homemade chili oil last?
This depends entirely on what is in the jar. Oil with only dried ingredients in a clean, sealed jar kept away from light and heat will generally stay good for several weeks and often longer. The moment fresh aromatics (especially raw garlic) are left in the jar, refrigerate it and treat it as a week-or-two item. When in doubt, refrigerate everything and trust your nose — rancid oil smells distinctly off.
Can I make chili oil without a thermometer?
Yes, but with more risk of error. The sizzle test helps: drop a pinch of chili flakes into the oil. A gentle, steady bubble with rising red color is roughly the right zone. A violent splatter or immediate browning means it is too hot. A slow, sluggish bubble with no color change means it is too cool. Practice makes this intuitive, but a thermometer removes ambiguity entirely.