Pressure Cooking for Beginners Without the Fear
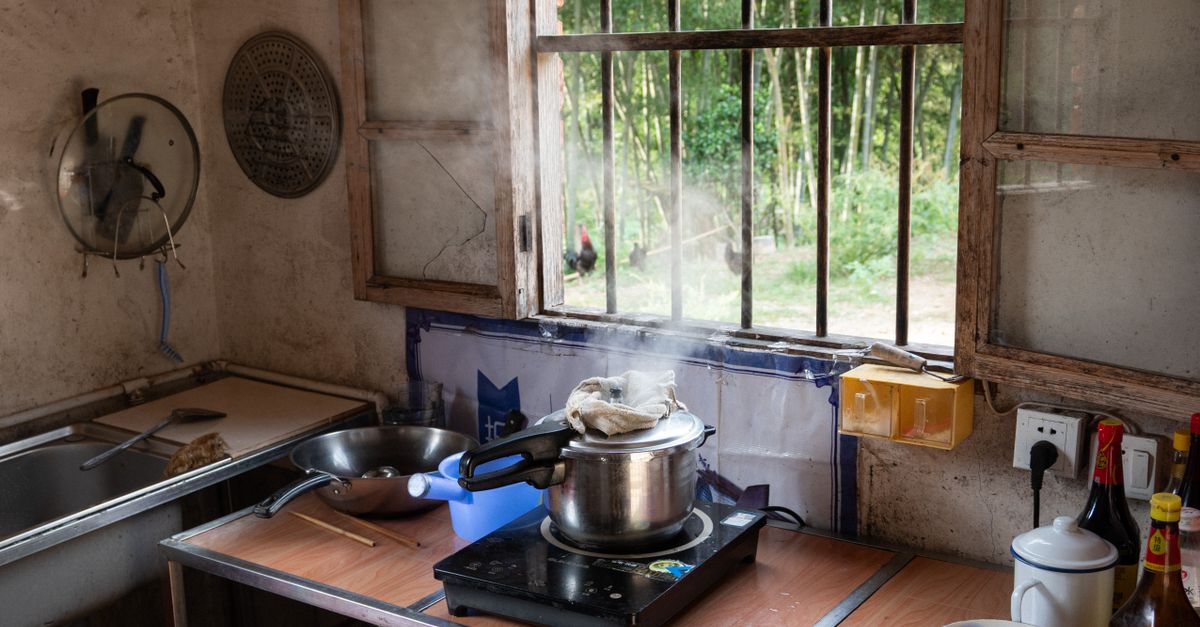
Pressure cookers have a reputation that outpaces reality. The sealed lid and loud hiss make them seem dangerous, but modern models — stovetop and electric alike — are built with multiple redundant safety valves. Once you understand what is happening inside the pot, the whole process becomes logical and surprisingly quick.
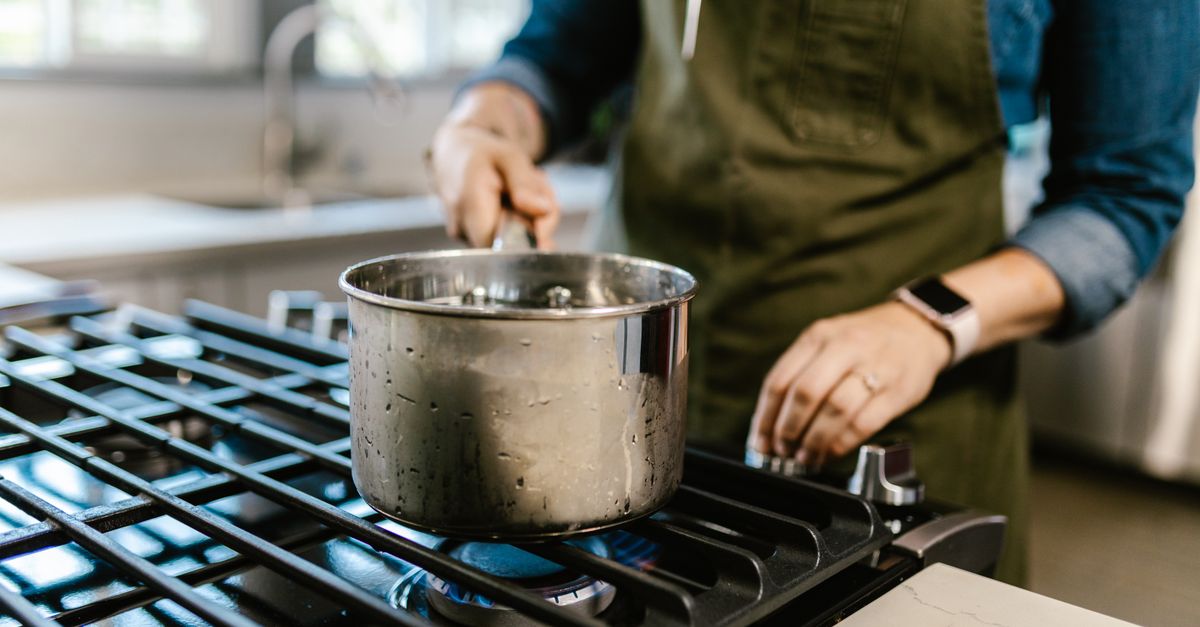
What a Pressure Cooker Actually Does
When you seal liquid inside a pressure cooker and apply heat, the steam cannot escape. That trapped steam raises the internal pressure, which raises the boiling point of water above 100 °C (212 °F). Because food cooks at a higher temperature than it would in an open pot, cooking times drop dramatically. A pot of dried chickpeas that would simmer for two hours on the stove can be ready in under half that time, and tougher cuts of meat become spoonable without the long braise.
The two main types work on the same principle but behave differently at the stove:
| Type | Heat source | Pressure control | Best for |
|---|---|---|---|
| Stovetop pressure cooker | Any hob, including induction | Manual: you adjust the flame | Fast cooking, browning before pressure, high heat searing |
| Electric pressure cooker (multi-cooker) | Built-in element | Automatic: set a program and walk away | Hands-off cooking, beginners who want a timer and auto-release |
Stovetop models generally reach higher pressure and cook slightly faster. Electric models are more forgiving because they regulate pressure automatically and keep warm when done.
Your First Cook: Getting the Basics Right
Start with something forgiving: lentil soup, a bean stew, or a pot of rice. These foods need enough liquid, tolerate a little extra time without turning to mush, and will not clog the steam vent.
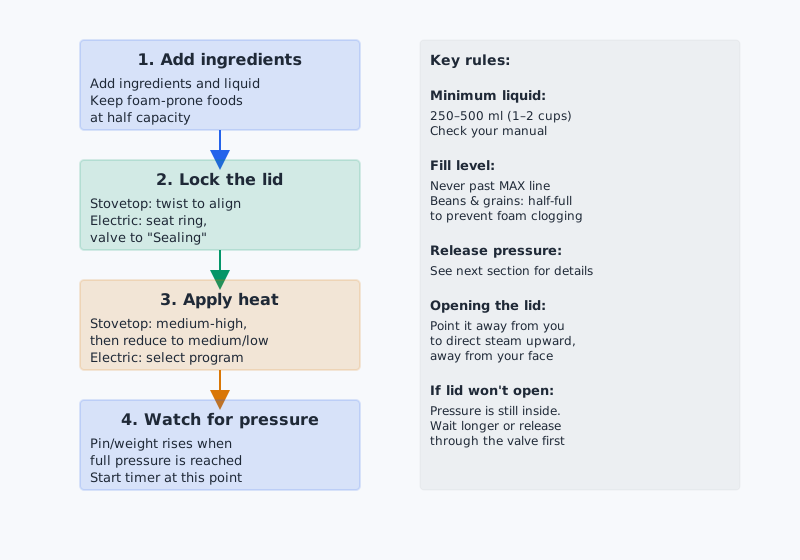
Minimum liquid: A pressure cooker needs liquid to generate steam. Check your model’s manual for the stated minimum, because it varies. As a rule, most require at least 250–500 ml (1–2 cups) of water, broth, or another liquid. Never cook with less than your manual specifies.
Fill level: Do not fill the pot past the MAX line marked inside. For foods that expand or foam — dried beans, grains, oats — stay at or below the half-full line. Foam can block the pressure valve.
The process, step by step:
- Add your ingredients and liquid. Keep foam-prone foods at half capacity.
- Lock the lid. On stovetop models, align the handle notches and twist. On electric models, ensure the sealing ring is seated and the valve is set to “Sealing”.
- Apply heat. On a stovetop, bring to full pressure over medium-high heat, then reduce to medium or low to maintain it. On an electric model, select the program and press start.
- Watch for the pressure indicator. On most stovetop models, a pin or weight rises when pressure is reached. Start your timer at that point.
- Release pressure safely (details in the next section).
- Open the lid away from you, so any remaining steam rises away from your face.
How Pressure Release Works
This step trips up most beginners, but the logic is simple. There are three methods, and the right one depends on what you are cooking.
Natural release: Turn off the heat and leave the pot alone. Pressure drops on its own over 10–30 minutes as the pot cools. Use this for large cuts of meat, dried beans, and anything delicate like cheesecake or custard. It prevents sudden texture changes from pressure shock.
Quick release (manual release): Open the steam valve (stovetop) or switch the valve to “Venting” (electric). Hot steam jets out. Use this for vegetables, seafood, or anything you do not want to overcook. Stand back and keep your hand and face clear of the valve.
Combination release: Let pressure drop naturally for a set number of minutes (say, 10–15), then open the valve to release whatever remains. A good middle-ground for thick stews where some resting improves texture but you do not want to wait for a full natural release.
Never force the lid open. If the lid will not turn, residual pressure is still inside. Wait longer or release through the valve first.
Why Is There No Pressure? Common Problems Fixed
First-time cooks frequently encounter one of three issues:
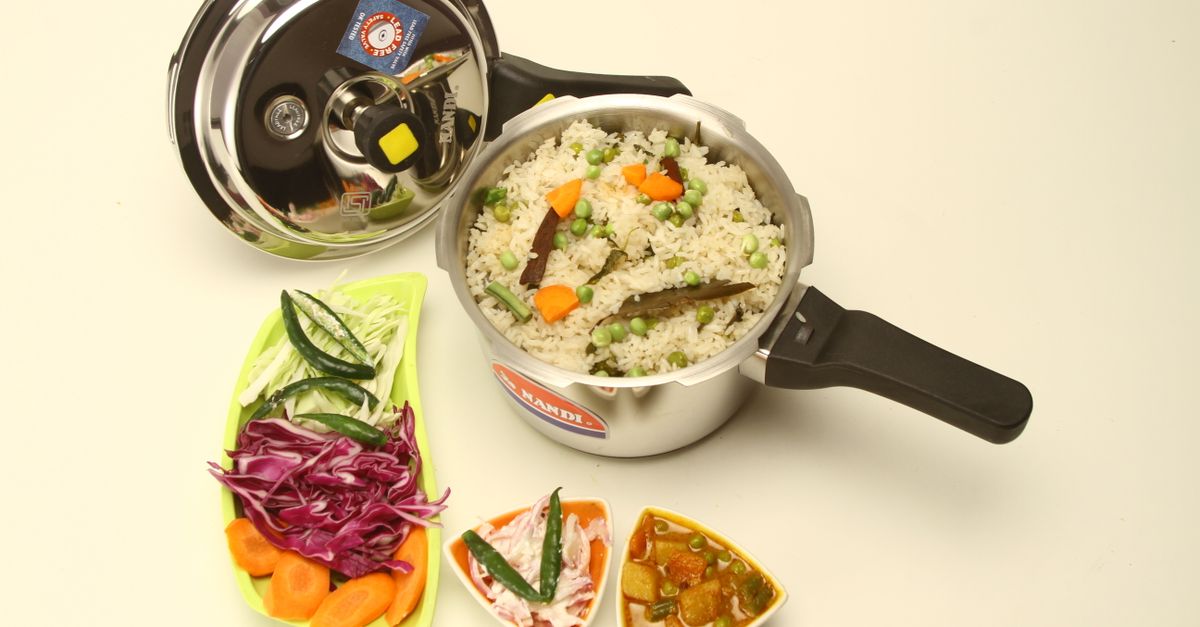
The pot will not come to pressure. Most often the lid is not properly locked, or the sealing ring (gasket) is missing, cracked, or seated incorrectly. Remove the lid, check the ring, reseat it, and try again. Also check that the valve is set to “Sealing” rather than “Venting” on electric models.
Food burns on the bottom. Not enough liquid, or the heat was too high for too long before pressure built. Add more liquid, and on stovetop models, reduce heat as soon as you reach full pressure.
The valve spits liquid, not just steam. The pot is too full, or the food foams heavily. Beans and oats are the usual culprits. Clean the valve and reduce the fill level next time.
Foods That Pressure-Cook Brilliantly (and a Few That Do Not)
Pressure cooking is genuinely transformative for some ingredients and pointless (or actively harmful) for others.
Best candidates: dried legumes, tough braising cuts (short ribs, pork shoulder, lamb shanks), whole grains like farro or wheat berries, root vegetables, stock made from bones, and risotto (faster with less stirring).
Approach with caution: Dairy and cream sauces can curdle under pressure; add them after cooking with the lid off. Delicate fish cooks in seconds and is almost impossible to time correctly; poach it conventionally or add it after pressure cooking to finish in residual heat.
Avoid entirely: Fried foods (there is no mechanism to crisp under pressure), carbonated liquids, and anything whose entire appeal depends on gentle low-temperature treatment.
If you want to put your pressure cooker to work on something truly rewarding, Bone Broth at Home: The Complete Cooking Guide walks through turning bones and scraps into rich, gelatinous stock in a fraction of the usual time.
Scaling Recipes and Adapting Conventional Ones
Most conventional recipes can be adapted, though liquid and timing both need adjustment.
Liquid: Pressure cookers do not allow evaporation the way an open pot does. Reduce the liquid called for in a conventional recipe by roughly a quarter to a third, or you will end up with a watery result. If the dish is meant to be thick, you can thicken it after cooking by simmering with the lid off or adding a starch slurry.
Timing: There is no universal conversion formula — the right time depends on the density and size of the food, not the original cooking method. A quick web search for “[ingredient] pressure cooker time” is more reliable than applying a blanket percentage reduction. Err on the side of slightly less time; you can always return the pot to pressure for a few more minutes if food is underdone, but you cannot un-cook overcooked meat.
Layering: Food at the bottom of the pot, closer to the heat, cooks more intensely. Place denser items (root vegetables, meat) at the bottom and quicker-cooking items on top, or add the latter after pressure is released.
If you also own a slow cooker and want to compare which appliance suits a given dish, Easy Slow Cooker Recipes for Beginners: 10 Must-Try Dishes is a good place to start.
Cleaning and Keeping the Sealing Ring Fresh
The sealing ring absorbs odors over time, and a garlic-scented ring can lend an odd note to your next rice pudding. Wash it with warm soapy water after every use. Some cooks keep two rings: one for savory dishes and one for sweet or neutral ones.
The pressure valve and its housing need regular checking. Remove and rinse the float valve or weight after each use. A clogged valve is the most common cause of uneven or failed pressure. On electric models, the condensation cup (the small container that catches drips at the back) also needs emptying and rinsing regularly.
The pot itself is usually dishwasher-safe; the lid assembly is not. Wash it by hand.
Frequently Asked Questions
Is a pressure cooker safe to leave unattended?
Electric pressure cookers are designed to run a full cycle without supervision, and they switch to a “keep warm” setting automatically when the timer ends. Stovetop models should not be left completely unattended because you need to reduce the heat once pressure is reached. Both types have safety mechanisms to prevent dangerous over-pressure, but neither replaces common sense.
Can I open the lid mid-cook to check on food?
Not while the pot is under pressure. Wait until all pressure has been released (the indicator pin drops on stovetop models; the float valve drops on electric ones) before the lid will unlock. Attempting to force it open under pressure is both dangerous and physically very difficult.
Do I need to add oil or fat?
Oil is not required for pressure cooking itself, but browning meat in oil before sealing the lid adds depth of flavor that pressure cooking alone does not create. Many recipes call for a quick sear with the lid off, then adding liquid and pressurizing.
How do I know when my stovetop model is at full pressure?
Most modern stovetop pressure cookers have a pressure indicator: a pin, rod, or ring that visibly rises when the pot reaches operating pressure. Some older models use a weighted jiggle valve that rocks or hisses rhythmically. Your manual will show you what full pressure looks like for your specific model.
What happens if I accidentally overfill the pot?
The pot will likely never reach full pressure, or the valve will spit liquid and foam. Turn off the heat, release any pressure safely, remove the lid when safe, and ladle out some of the contents before trying again. Do not force the pot to continue with too much food inside.